5 minute hack: how to use the Xbox One Elite controller with your PS4
Anyone can fit a square peg into a round hole, if they know how…
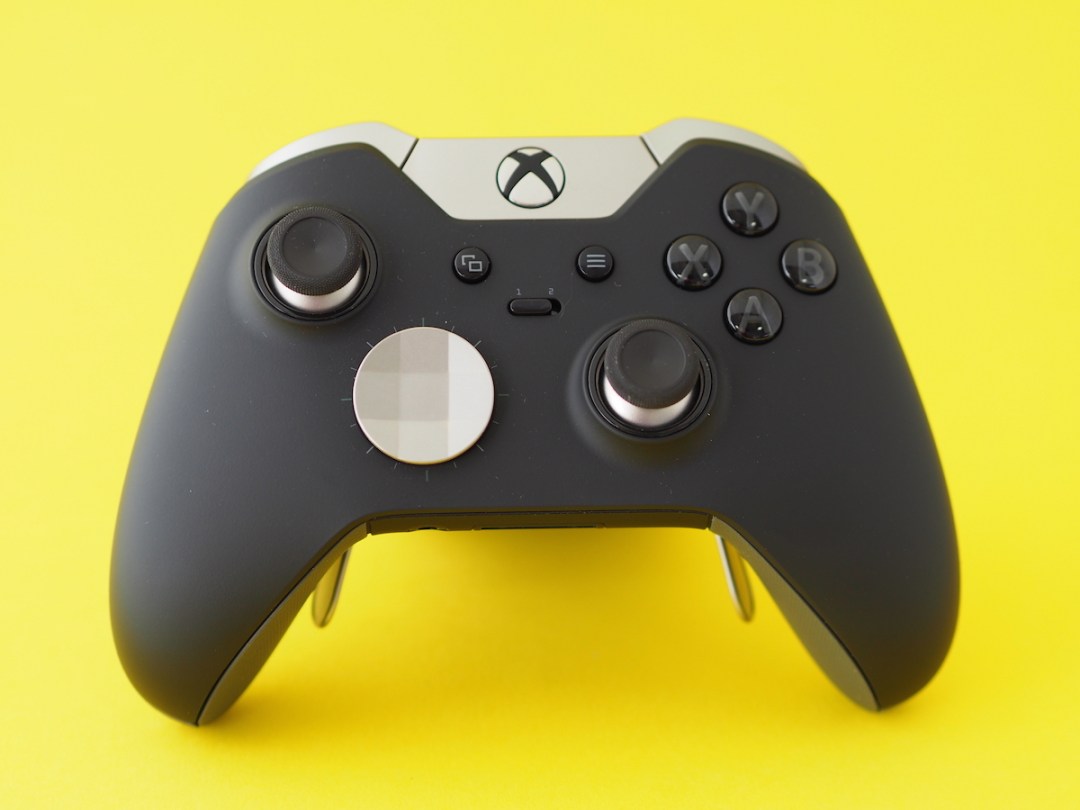
When I first unboxed the Xbox One Elite controller at Stuff HQ, I was immediately swarmed by a gaggle of crooning gamers who, after caressing its metal paddles and beautifully finished body, came out with phrases like “sexy trigger action”.
It is a lovely thing, but almost entirely useless for me as I mostly play on a PS4. I’m not one to give up easily though.
After a quick trip down Google lane, I came across a little device called the CronusMAX Plus, which allows the use of various controllers with different consoles.
It takes a little work, but now that everything’s up and running, I’m now enjoying my usual Destiny shenanigans on Sony’s console, with Microsoft’s lovely controller.
Here’s how you too, can defy the laws of gaming physics:
Ingredients
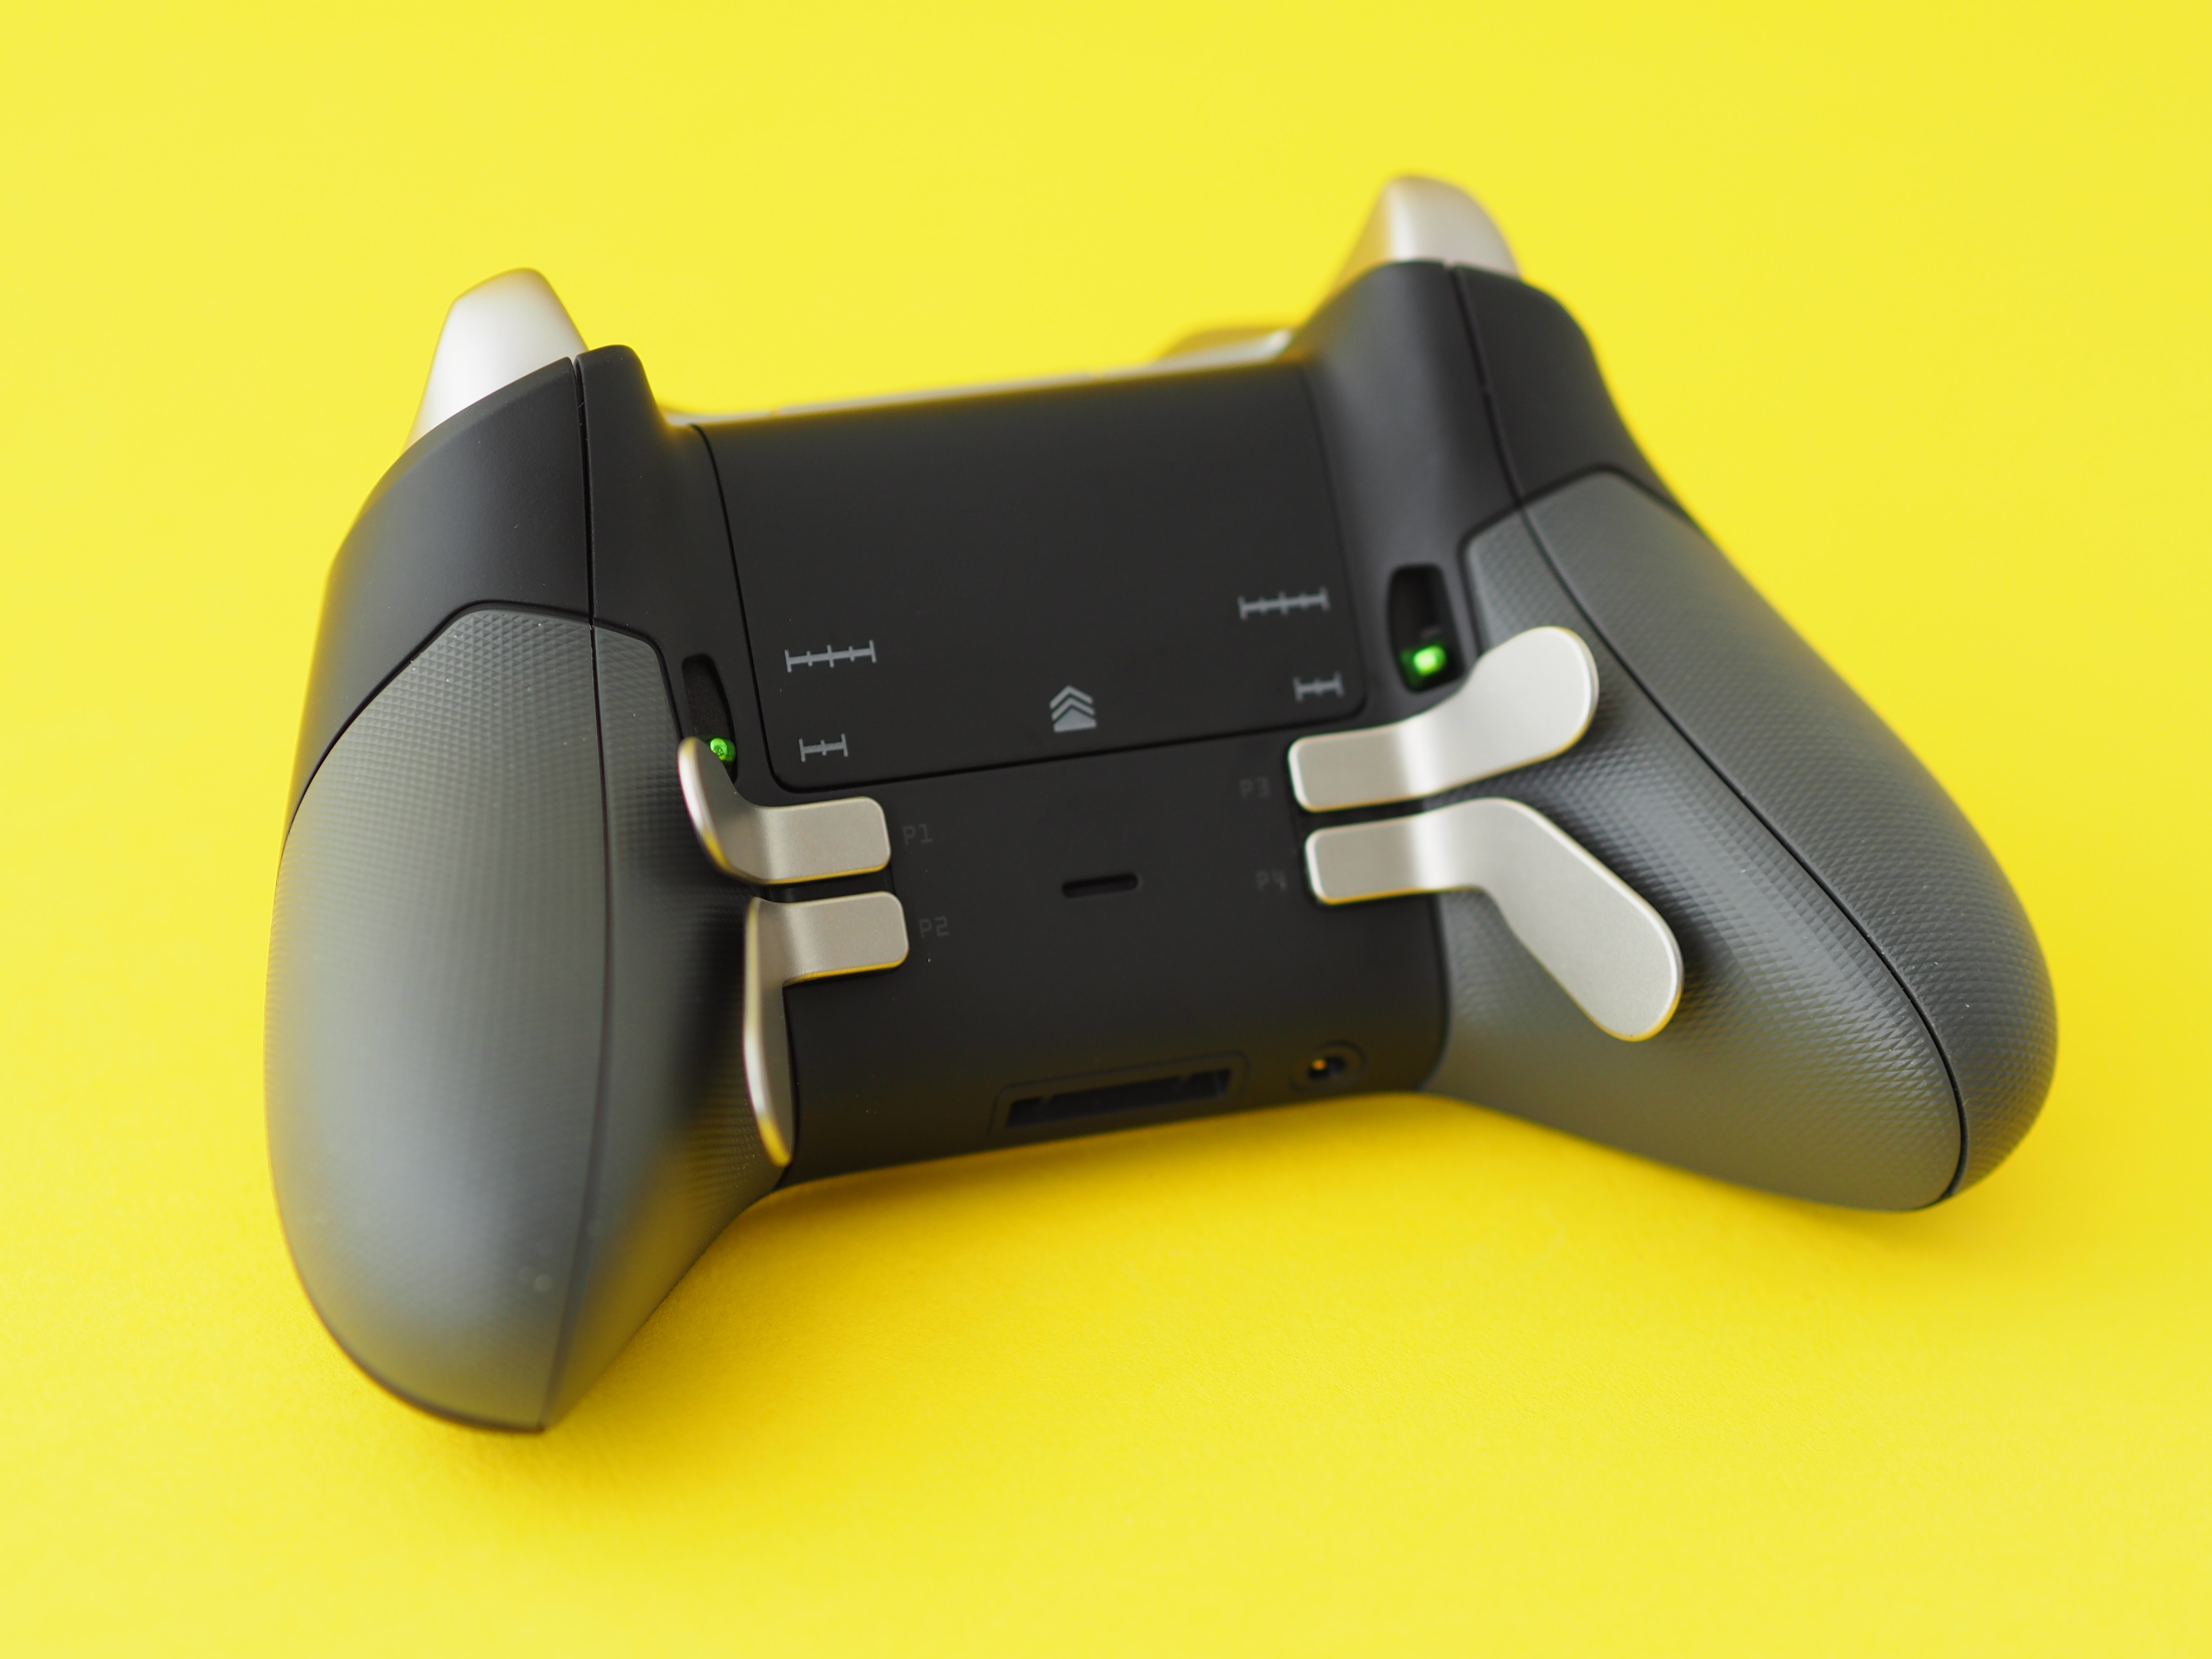
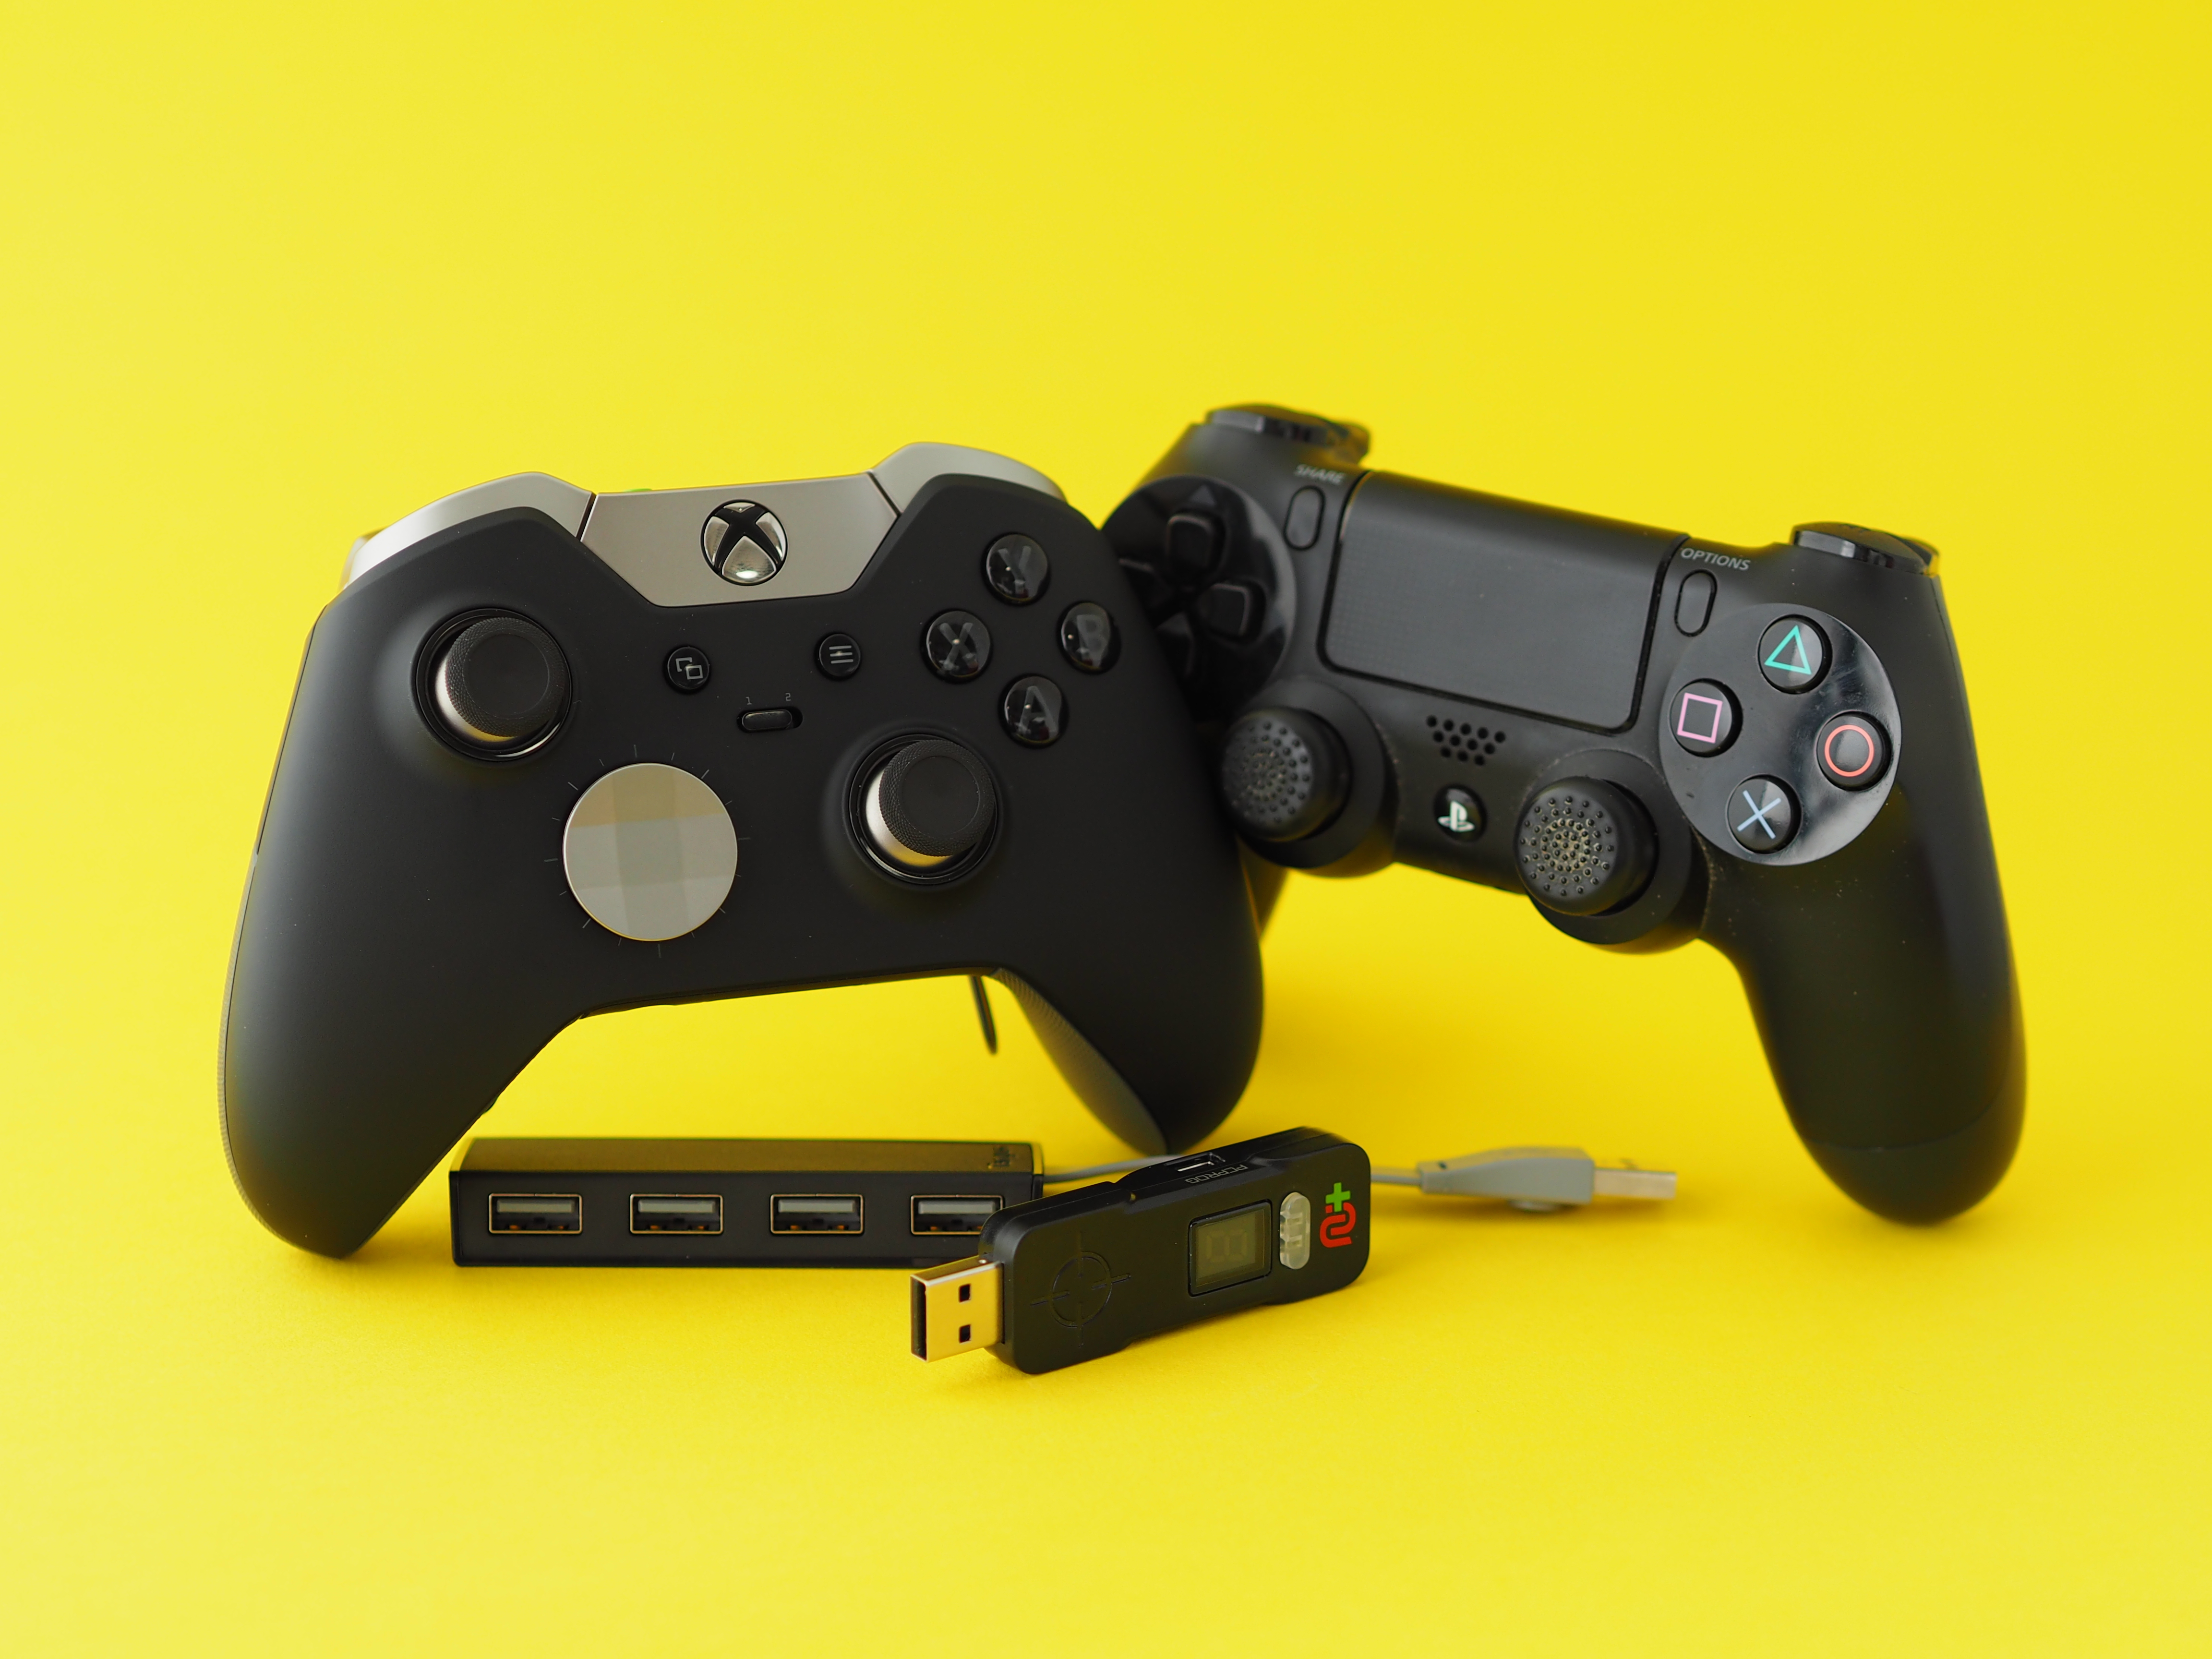
Microsoft Xbox One Elite controller: Microsoft’s controller is, simply put, the best console controller ever made. Well, at least in my opinion anyway.
It fits the hand nicely and looks menacing in an all-black paint job, but it’s the build quality, customisation and rear paddles which really set it above the competition (as well as contributing to its hefty £110 price tag).
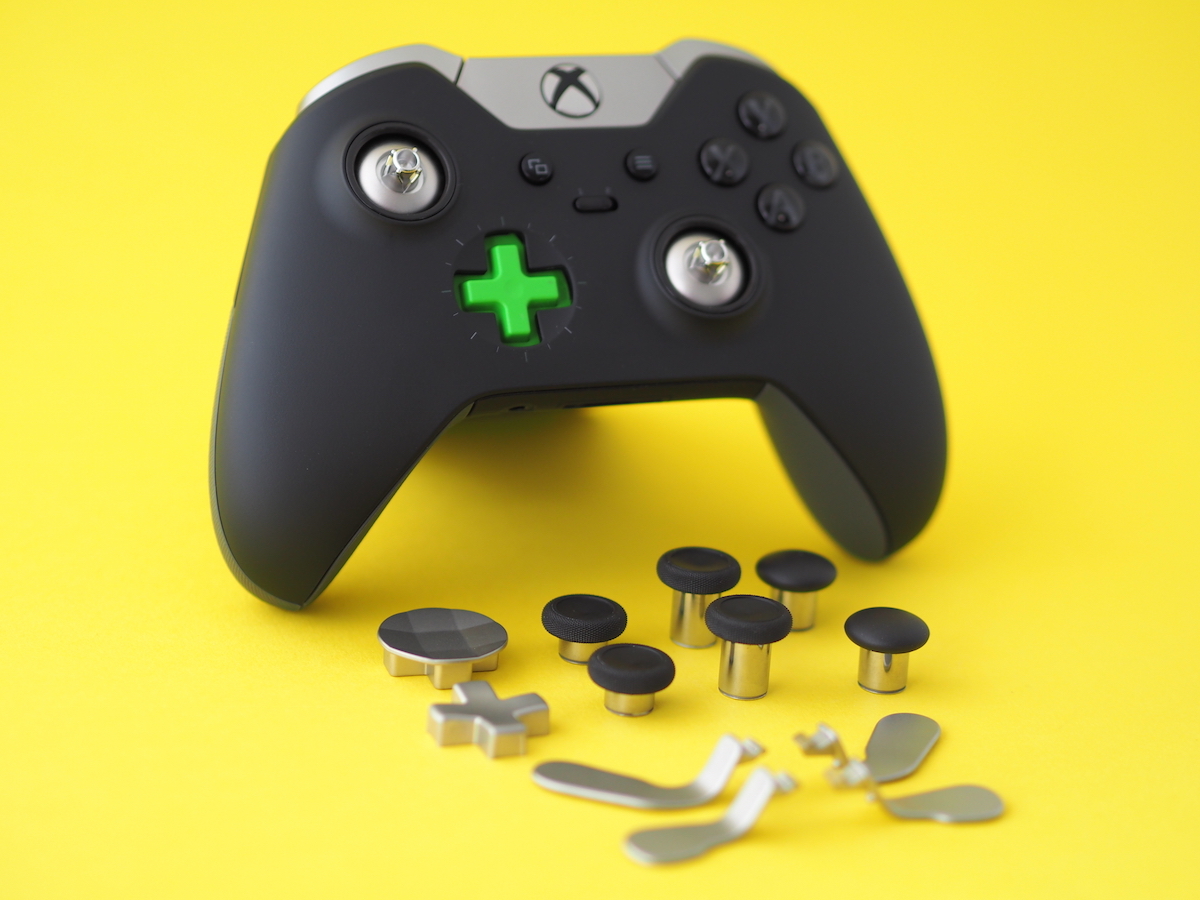
The Elite controller comes with a variety of different thumbsticks which vary in shape and length. It also comes with two different types of D-pad options, all of which are made from sturdy metal.
They’re easily swapped around in an instant thanks to a magnetic locking system, which is also used to keep the rear paddles in place.
The paddles themselves let you hit the ABXY buttons (or any buttons you fancy, after re-mapping), without removing your thumb from the right thumbstick. This gives you the extra edge in shooters, as you’re still able to look around and aim while reloading, swapping weapons, or jumping.
Finally, both triggers can be locked halfway, making them more sensitive, giving players the extra edge in firefights.
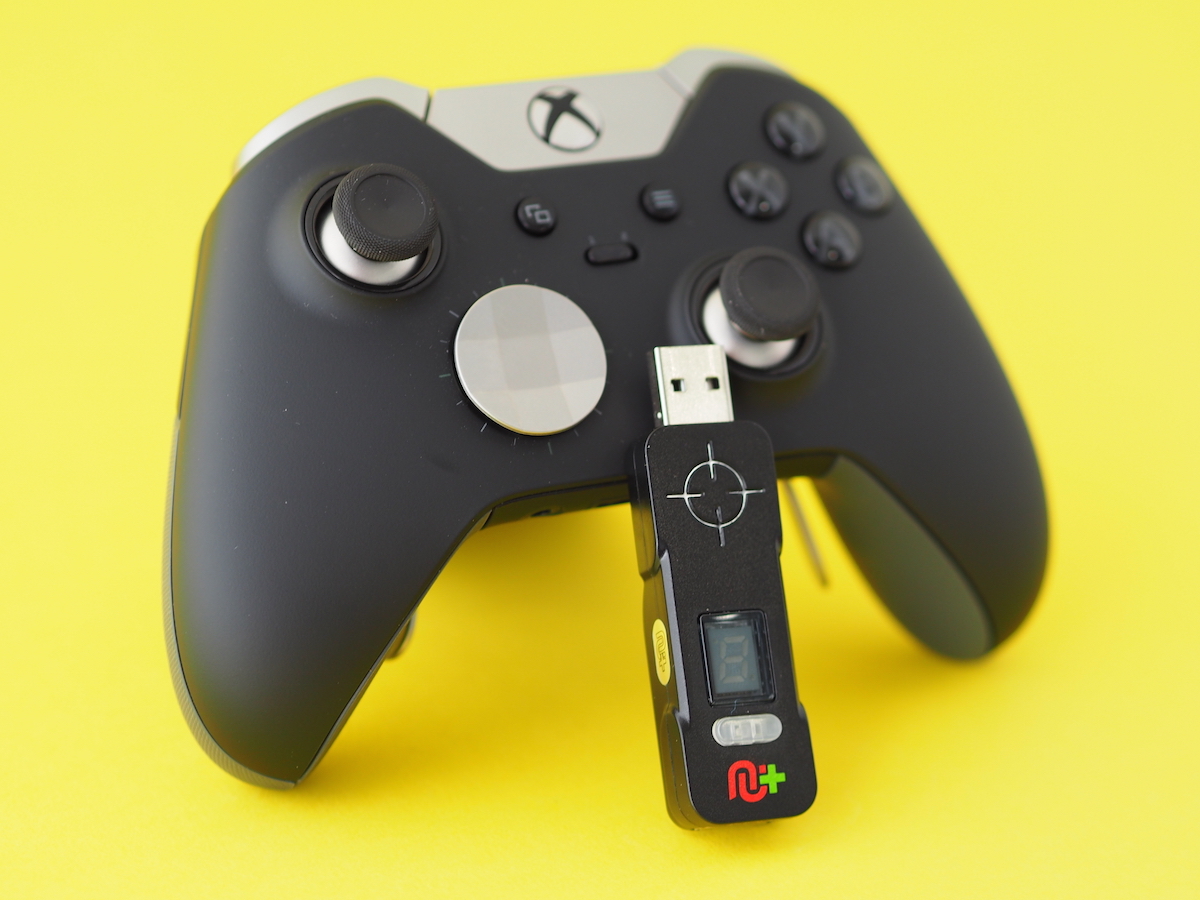
CronusMAX Plus: This is the magical little stick that makes all of this possible. Once you’ve configured it properly, it’ll let you use anything from a keyboard and mouse to a Wii or Xbox controller with your PlayStation 4. It’ll set you back £45 and requires a Windows PC (or a Mac running Windows).
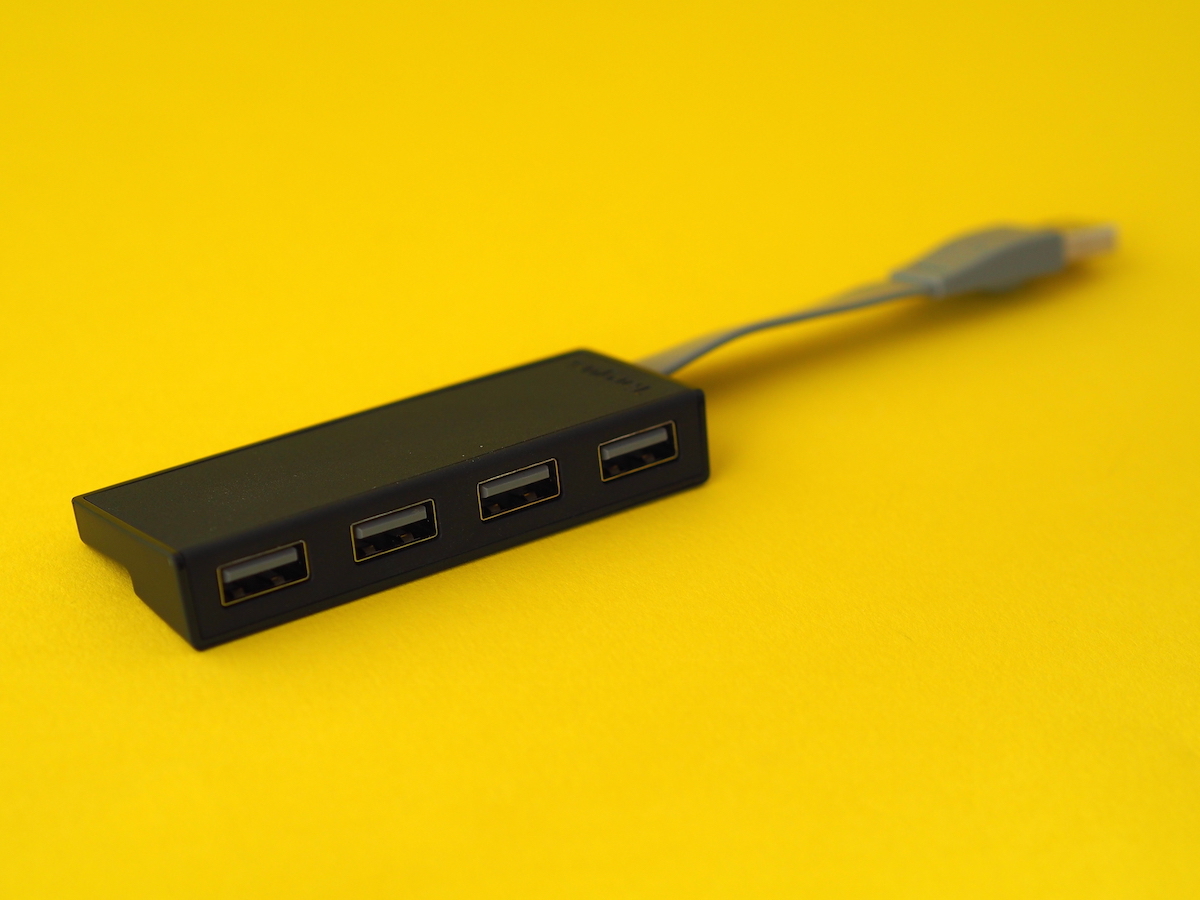
Four port USB 2.0 hub: You’re also going to need a four port USB hub – specifically with USB 2.0 ports. Most of them will work without any hassle, and the one linked below has worked for me without any problems.
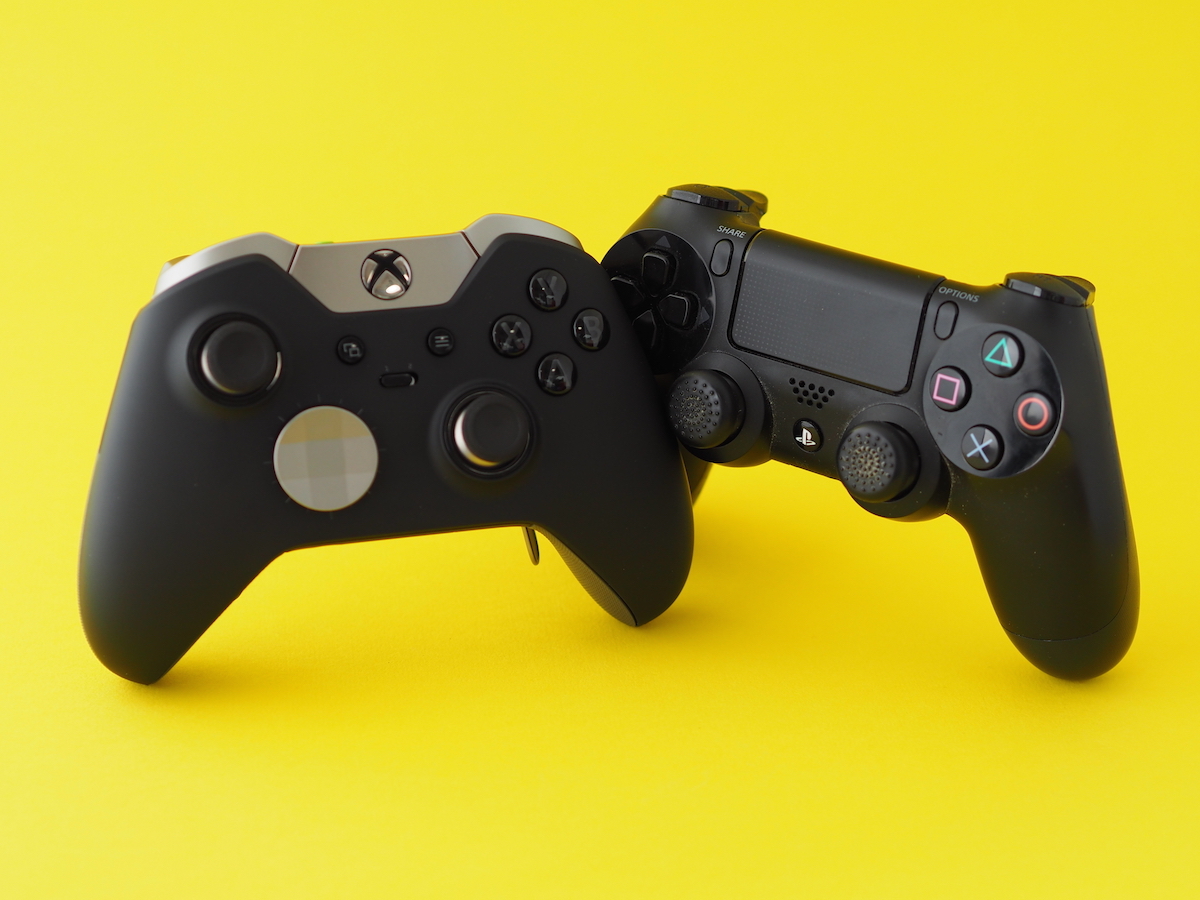
PlayStation 4 controller: If you’ve got a PS4 then chances are, you’ll already have a PS4 controller. Unless, of course, you smashed it against a wall after losing to a laggy shotgunner. Either way, you’re going to need one.
While you’re not actually going to be using the PS4 controller itself to play games, you’ll still need it to authenticate the Xbox One Elite controller. Without it, the Elite controller would lose connection to the PS4 every ten minutes, as it’s not an officially recognised accessory. In other words, the PS4 controller basically acts as a mask which allows the Xbox controller to sneak in behind enemy lines.
As you’ve probably figured out by now, the USB hub allows you to connect both controllers up to the CronusMAX Plus at once, and that in turn, is plugged into the PlayStation 4 console. And yes, this does unfortunately mean that wireless controller support is out of the question, for the time being at least.
Right then – now we’ve got all the gear, it’s time to set everything up…
Step 1 – Elite Configuration
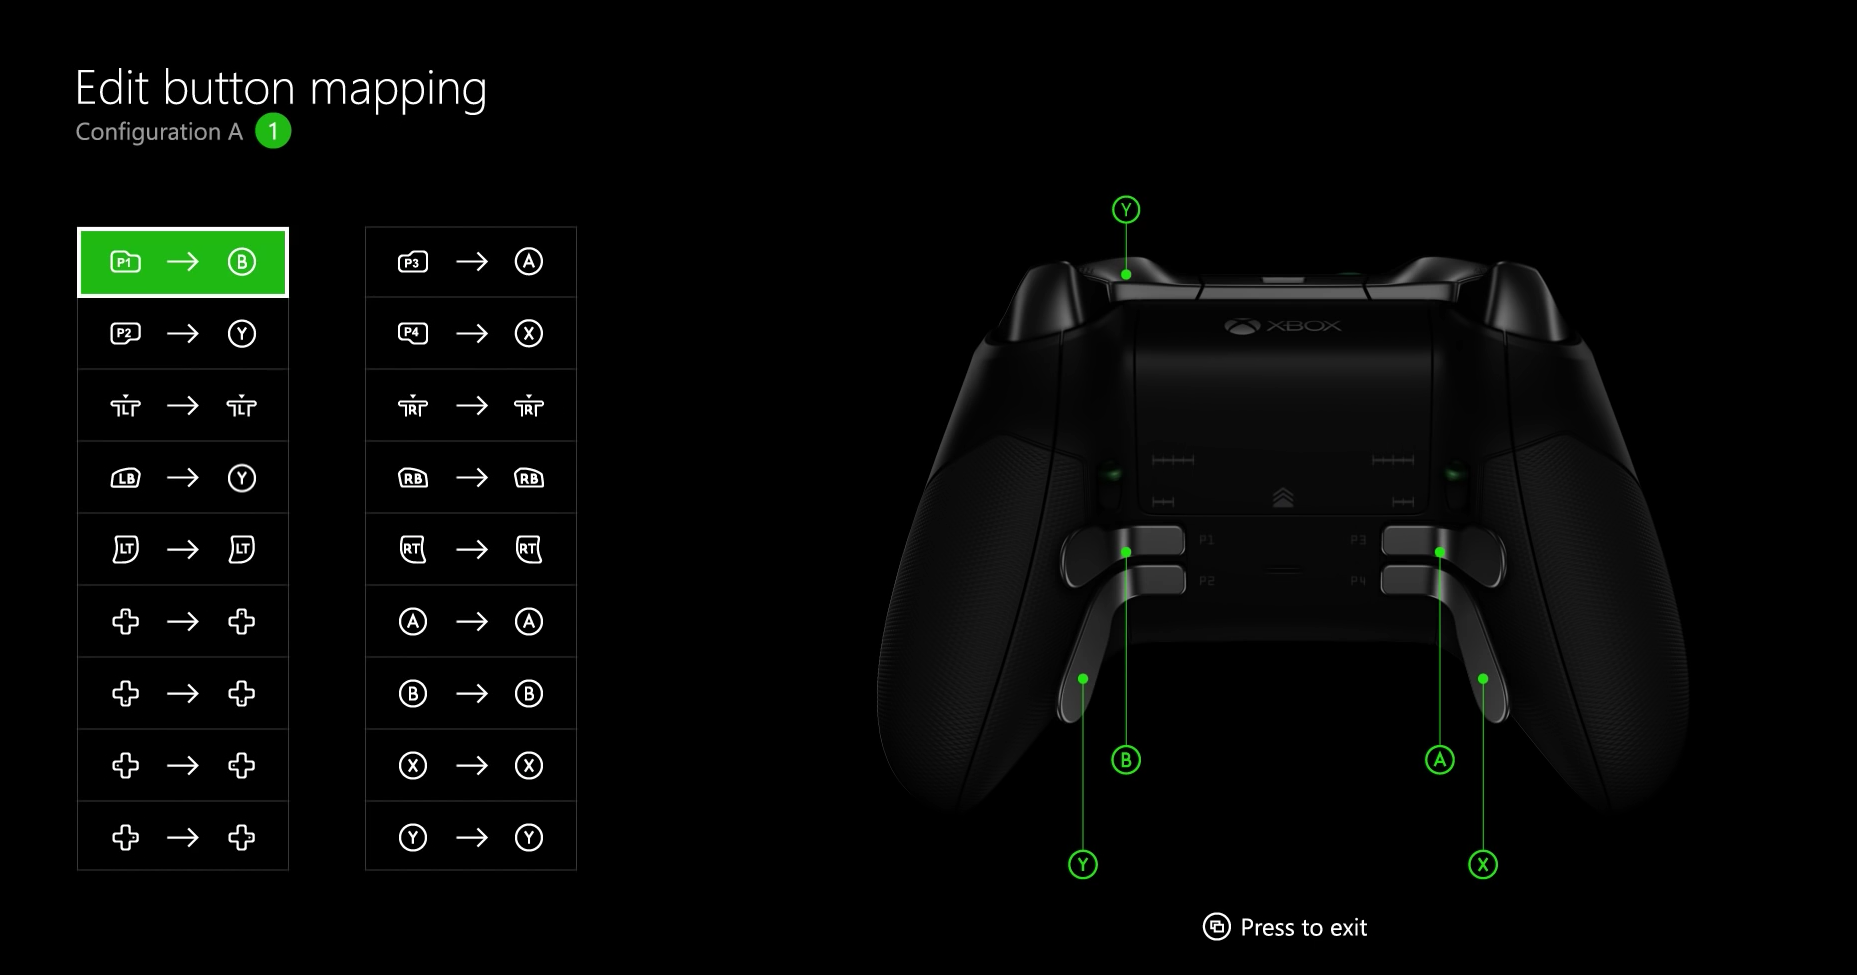
Before you do anything, you’ll want to plug the Xbox One Elite controller into a Windows PC or Xbox one console, and make sure you’re happy with its button layout, and thumbstick and trigger sensitivity.
The Xbox Accessories app can be downloaded for free from the Microsoft Store, and tweaking the Elite controller is a self-explanatory process.
Step 2 – Download Cronus Pro
The next step is to download the Cronus Pro software from here. Once it’s installed, you’ll want to make sure it’s upgraded to the latest firmware, and set up to accept the Xbox One Elite Controller.
While it’s not complicated, the process is tricky to put into words, so instead of bombarding you with text, I’ll let the informative, in-depth tutorial video above take you through everything you need to do.
Step 3 – Install the PS4 Gamepack
Once you’ve configured the CronusMax Plus, you’re going to want to install the PS4-specific Gamepack.
This will allow the PS4 controller’s touchpad to be emulated by the Xbox One Elite controller’s Change View button – although you can customise which button brings up the touchpad.
In games like Destiny, the touchpad is a crucial input, so this process is vital to ensure that you replicate the full PS4 controller functionality.
Again, the video above will take you through everything you need to know, and overall, setup and installation shouldn’t take you more than five minutes, tops.
Step 4 – Port detective
Now, for some reason, you’re going to need to plug the Xbox One and PS4 controllers into ports one and four of the USB hub, respectively. I have no idea why, but in any case, it’s easy to find out which port is which, using this handy piece of software.
Once that’s installed, fire it up, and plug in any USB device like your phone or a memory stick into the hub’s ports, and you’ll be able to tell which number it is. It sounds confusing, but it only takes a few seconds. Full instructions can be found here.
Step 5 – Game on
That’s it, you’re good to go. Plug your CronusMAX Plus into the PS4’s USB port, then plug the four-port USB hub into the other end.
Plug the Xbox One controller into port one of the hub, and the PS4 controller into port four. Fire up your PS4 using its power button, and boom – you’re defying the very fabric of the universe by using an Xbox One Elite controller with a PlayStation 4. Feels naughty, doesn’t it?
If you find that the touchpad shortcut doesn’t work, just tap the button on the CronusMax Plus to switch to the correct Gamepack slot.
For example, if you installed the PS4 Gamepack – which offers touchpad support – into the first Gamepack slot, pressing the button once will display a ‘1′ on the CronusMAX’s display, and everything will work perfectly.
I know it sounds confusing if you’re reading this ahead of setting it all up, but it’ll make sense, I promise.
Once it’s all sorted, everything will work as normal each time you turn up the console, making the 5-10 minutes of initial setup more than worth it.
Enjoy your newly discovered level of control, and keep on gunning for those headshots.

