I bought a Magic Mouse and framed it – here’s why and how
The Magic Mouse artwork I was hoping to add to my collection was discontinued, so I decided to make my own.
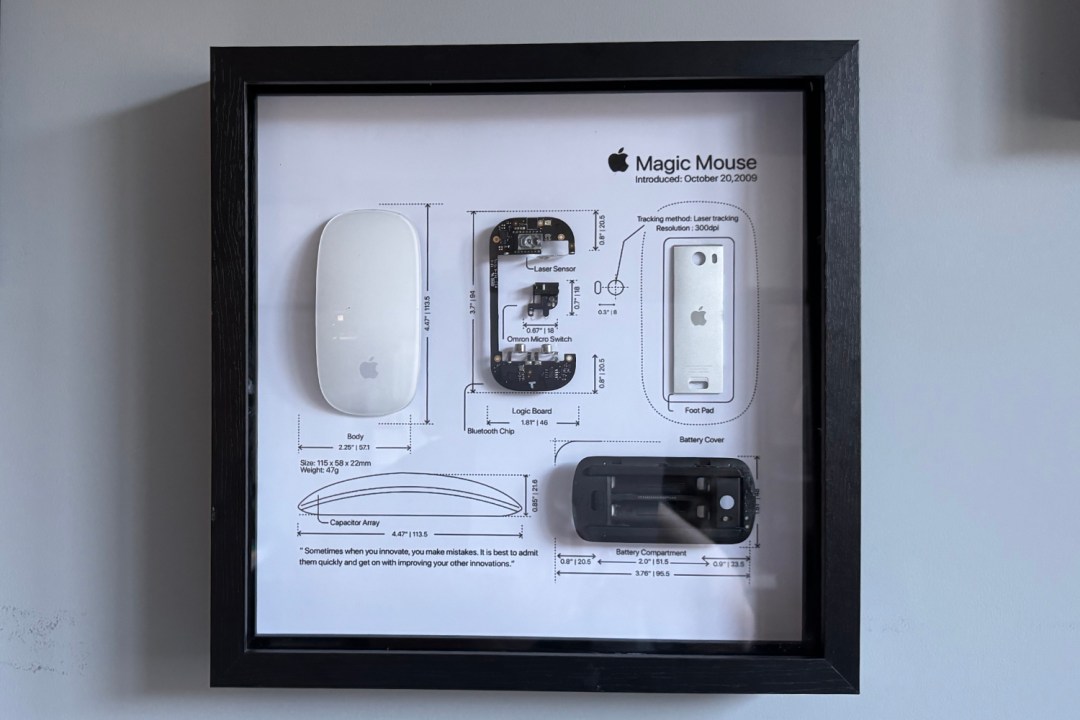
Anyone that’s an avid reader of Stuff will know that I’m somewhat of an Apple fan. Most of the tech I use is made my Apple, with my iPhone being number one. And in spirit of this, I’ve got a little collection going. There’s a display case with a few retro (and some not so retro) Apple gadgets inside. But perhaps more extensively, I’ve got a collection of Apple device artwork.
They’re all pieces made by Grid Studio – there’s 14 of them in total. The next one on my list was the Magic Mouse, but, unfortunately, Grid Studio doesn’t offer it any more. So instead of having a missing hole on the wall, I bought a Magic Mouse and framed it instead.
Making my own device artwork
These art pieces, memorialise tech devices in their glorious parts – deconstructing them for all to see. The point is to showcase the beauty of technology that we often take for granted. It’s like peering into the soul of your beloved gadgets. If phones had souls.
And I wanted to add this Magic Mouse piece to my collection, so I decided to do it myself. I found a Magic Mouse on eBay for around £20. The trick here was that it didn’t actually work (there was something wrong with the chipset, I think) but it still looked in pretty good nick. Since I’m planning on taking it apart, it doesn’t much matter if the thing actually clicks or not. With the mouse bought, I went out and got a box frame from IKEA. I tried to match the wood as best I could, but made sure it was the same size. And then I stocked up on super glue.
Grid Studio obviously creates these pieces of art themselves, so you won’t find the art backing online. This could be a good idea, to allow DIY kits for a price, but that’s not the point. I recreated things as best as I could, noting what part was what and where it came from. I think mine looks pretty similar, but you can use your artistic flair here. Since I’m lacking, I kept things pretty samey.
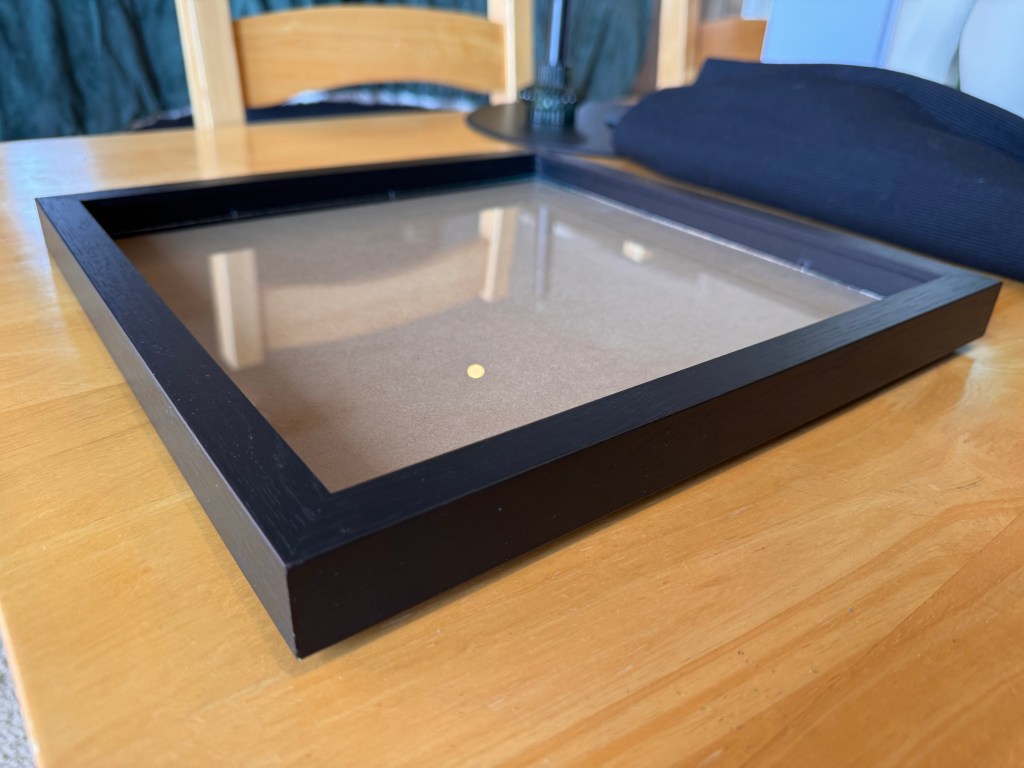
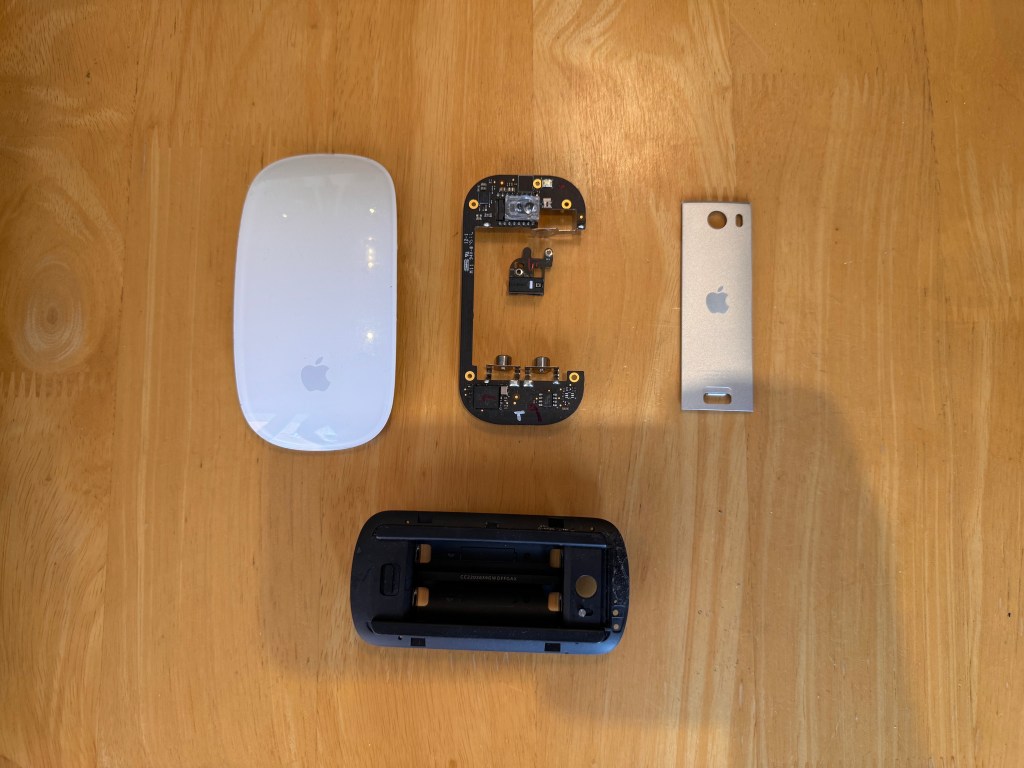
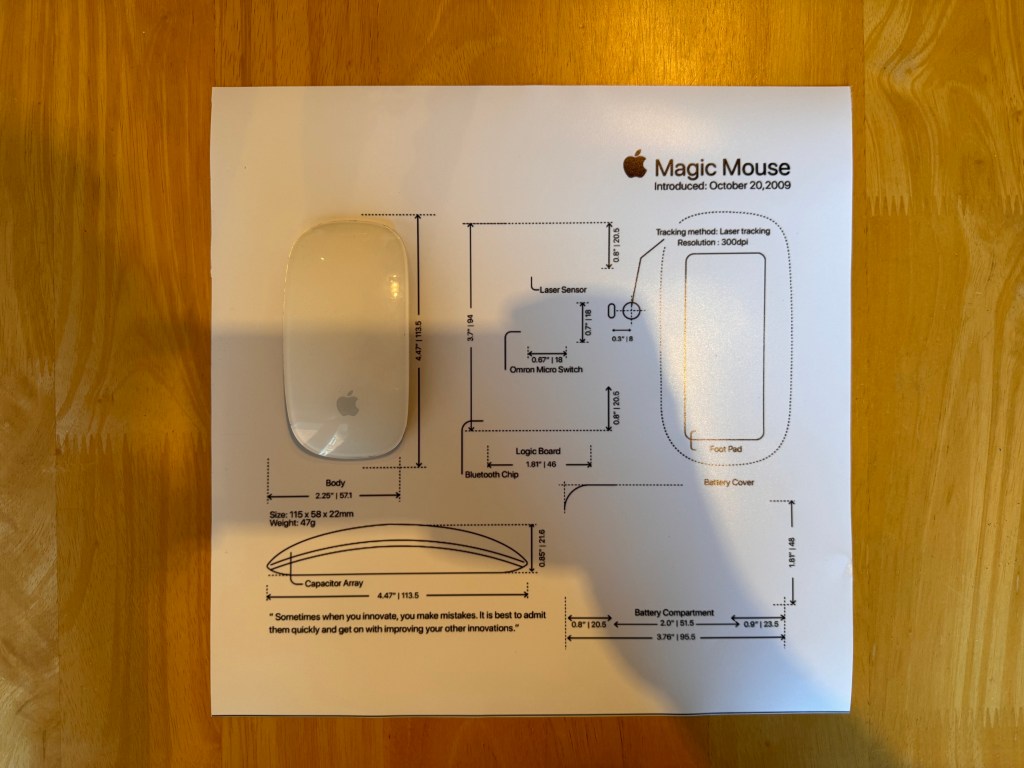
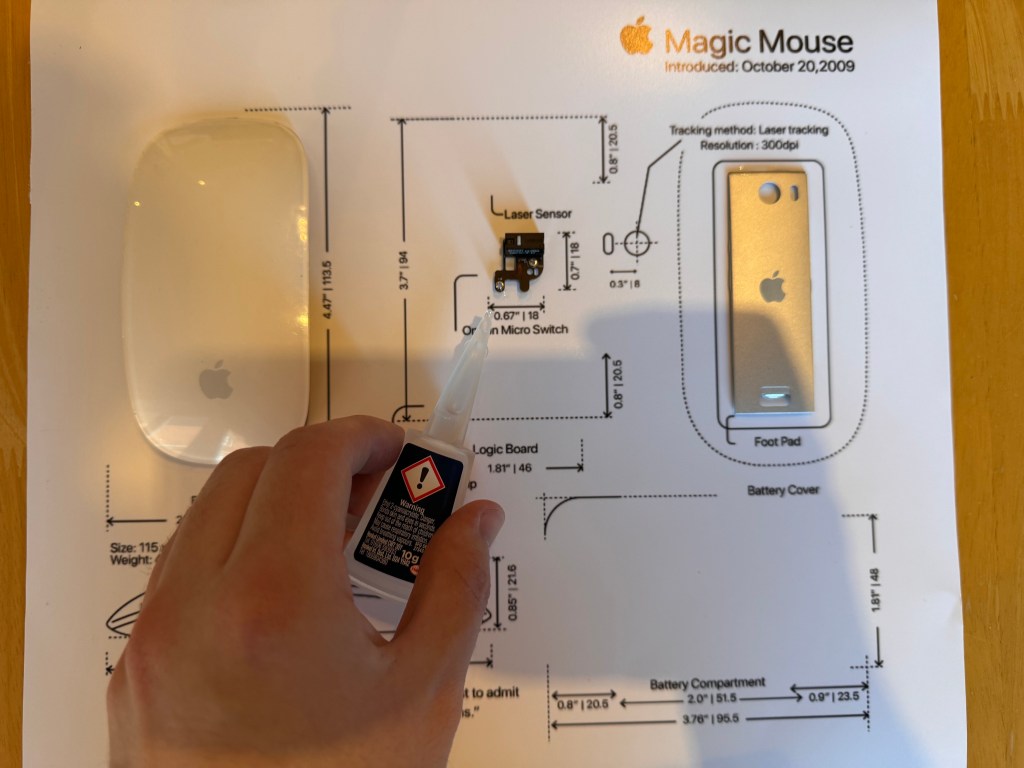
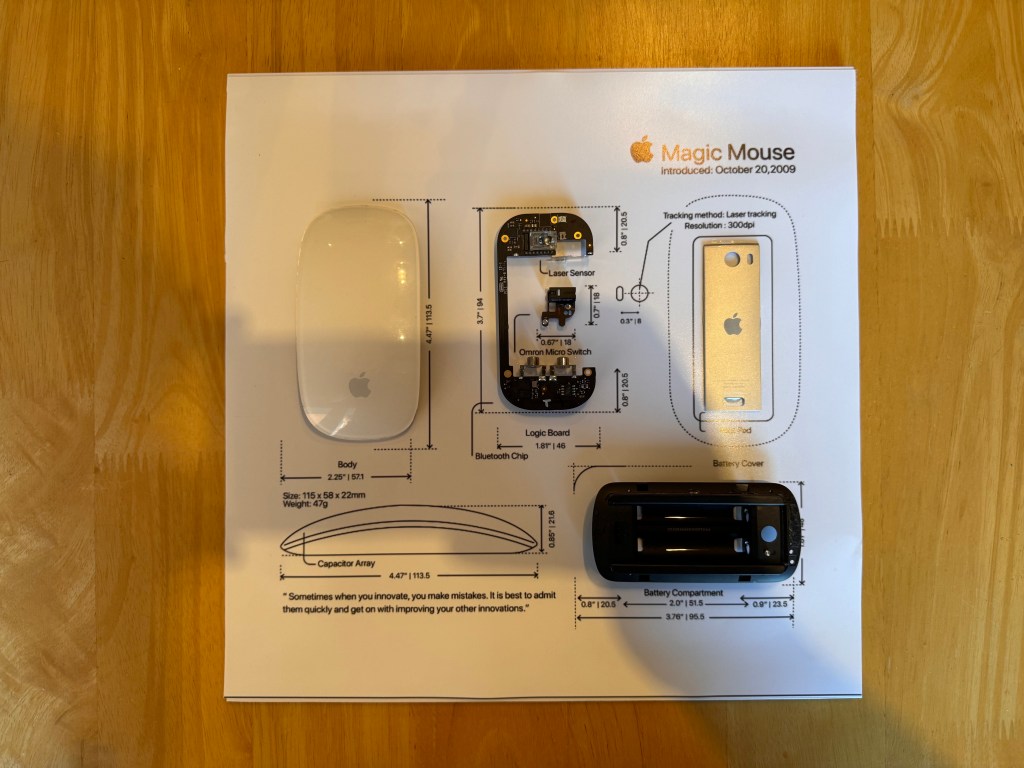
And then it came time to put everything together. I used a 12-inch x 12-inch frame, got the backing art professionally printed, and then trimmed it down to size. Since the backing art acts as a template of sorts, I felt pretty confident to go straight to sticking. To take apart the Magic Mouse properly, I followed iFixit’s teardown guide. I managed to escape with just a small nick on my finger from the knife, but in otherwise good condition.
I then went to stick everything down with super glue. There might be a more secure way of doing this, but it didn’t come to me. I stuck each part down and held it firmly for around 20 seconds or so. I then moved onto the next, until everything was stuck down in place. After about an hour or so, I decided the glue had cured enough for me to slot things in the frame and hang it on the wall. I’m pretty happy with how it turned out, looking just like the others on the wall. Though, I’m still picking glue off my fingers.
I’m a fan of doing it myself
Taking on this little project, I’ve realised that I’m a fan of doing it myself. There’s a less than great AirPods one on the wall that I attempted myself with a Sharpie. But doing things properly, I’ve made something that I’m rather happy with. Not only does it look cool, it was also nice to complete. I do wish Grid Studio sold the backing art so you had the option of doing it yourself. Regardless, I think I’m going to make more at some point. I don’t think the collection will ever be done, to be honest.


