Instant Upgrades: Sony PlayStation VR
The best tips, tricks and accessories to help you squeeze the most out of Sony's magical headset
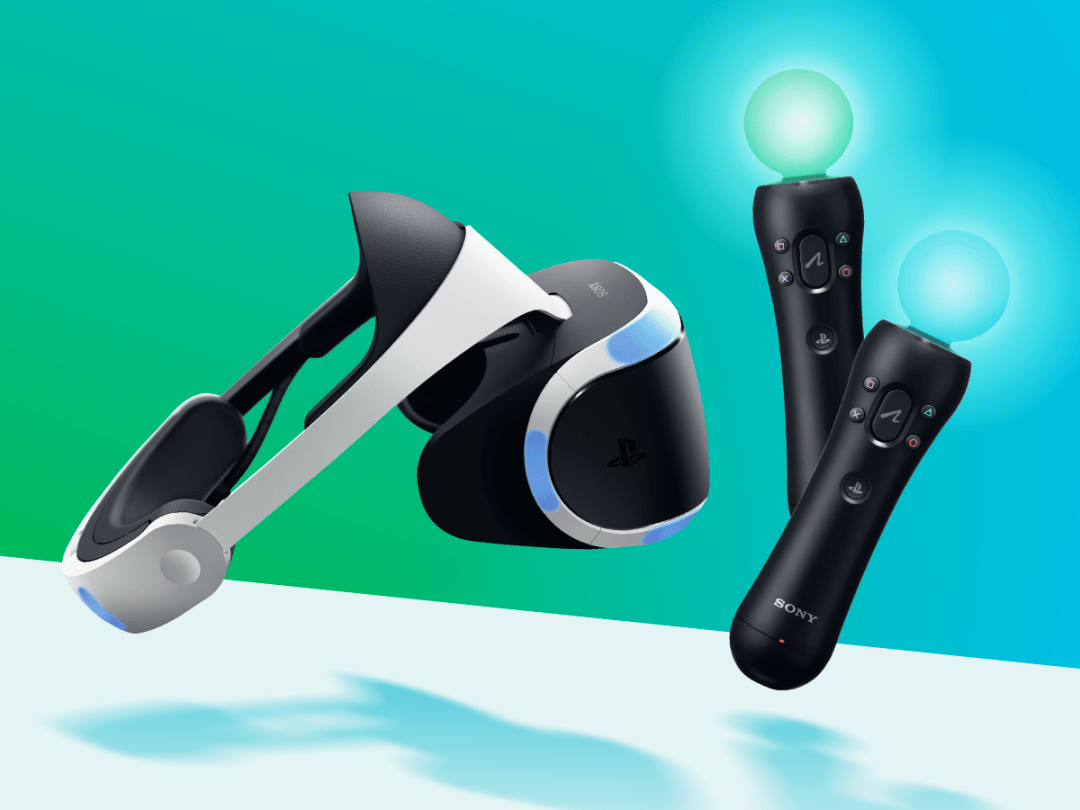
So you’ve got yourself a shiny new futuristic Daft Punk-approved Sony PlayStation VR headset? Wave goodbye to the real world.
But before you do, take a moment to read through our top tips. Sure, there’s a chance you know everything already because you’re amazing, but it’s well worth double checking to ensure you’re squeezing every last drop of potential out of your Sony WonderGoggles.
Throw in a few key accessories and must-play games, and you’ll be off to a flying VR start in no time.
1) Setting up
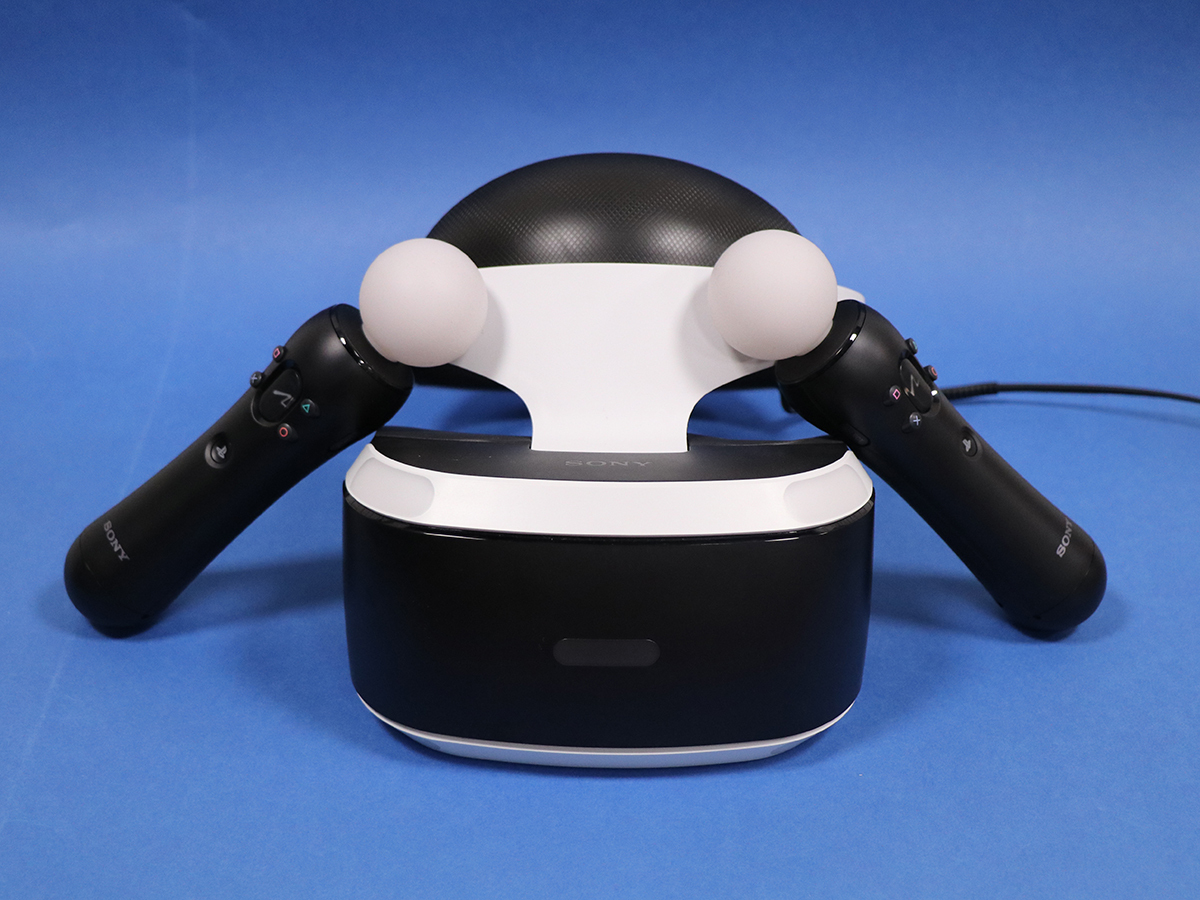
Before you can dive into your virtual Batsuit or step into a luxurious digital supercar, there are a few bits of housekeeping that you need to take care of first.
Don’t worry – none of it involves re-plastering the walls or sanding the floors, though you might want to shift your coffee table out of the way if you want to avoid destroying your shins.
First things first – lighting. The PSVR does not like light. Well, more specifically, it hates all light that isn’t emitted from the headset or the two glowing Move Controllers.
The darker your room, the better, so turn off the lights (obviously), draw the curtains, and try to make sure there aren’t any reflective surfaces between you and the PlayStation Camera, or behind you when you’re playing.
This will ensure that tracking is as accurate as possible, providing a much better gaming experience.
Speaking of the PlayStation Camera, you’re going to want to be sitting or standing around two metres from it for the optimal playing experience, though be warned – you’re going to have to raise or lower the camera slightly depending on whether you’re sitting or standing. Sadly Sony hasn’t released an automated head-tracking camera for the PS4. Yet…
Related › Sony PlayStation VR review
2) Fine tuning
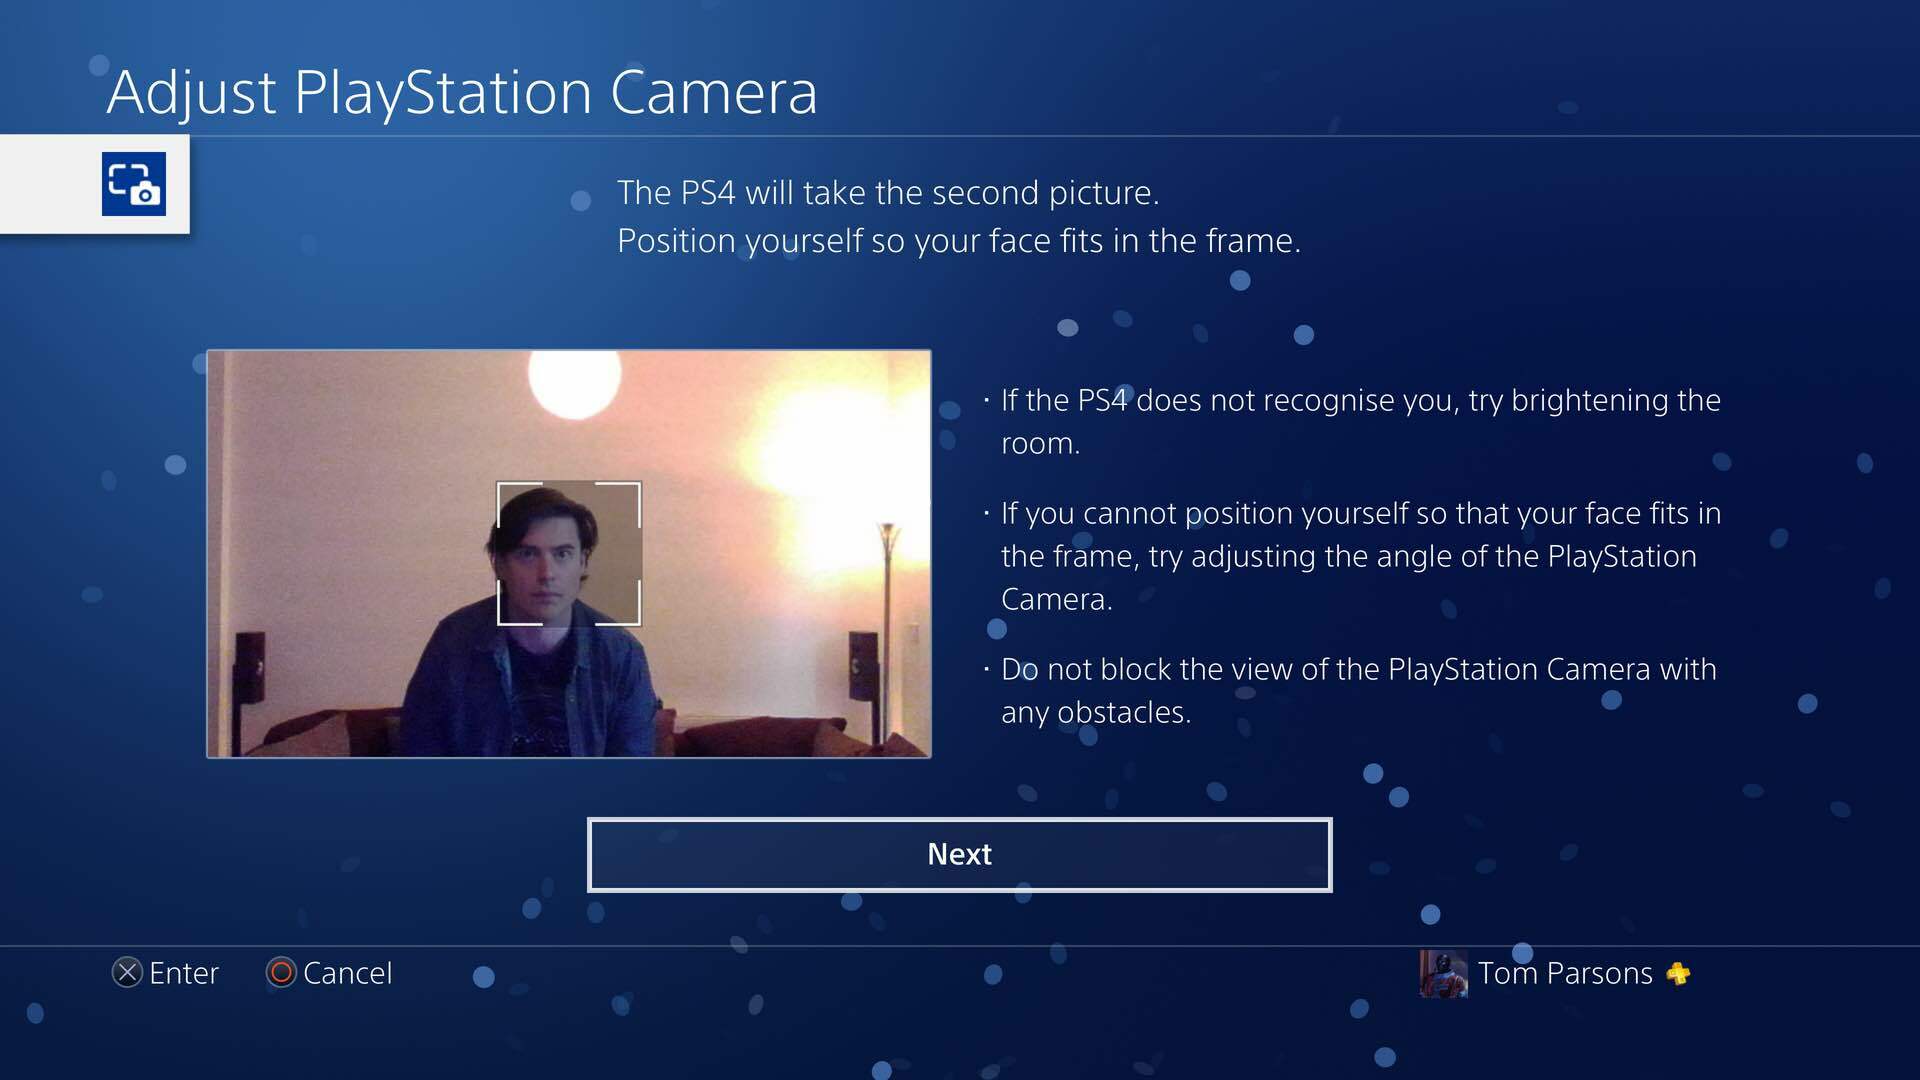
If you’re still having niggling problems with tracking despite following all the steps above, then you can usually pinpoint reflective culprits by going to Settings > Devices > PlayStation Camera and Adjust PlayStation Camera.
From here, you’ll be able to see if your PSVR headset and move controllers are being picked up properly. The live video feed will be inverted, so bright areas will appear darker.
This makes it easier to see any pesky reflective surfaces which could be confusing the camera. If aunt Mabel’s lovely vase is showing up blacker than Lord Voldemort’s Hot Topic undies, then it’s time to banish it behind the couch, until you’re done playing.
3) Tailor-made
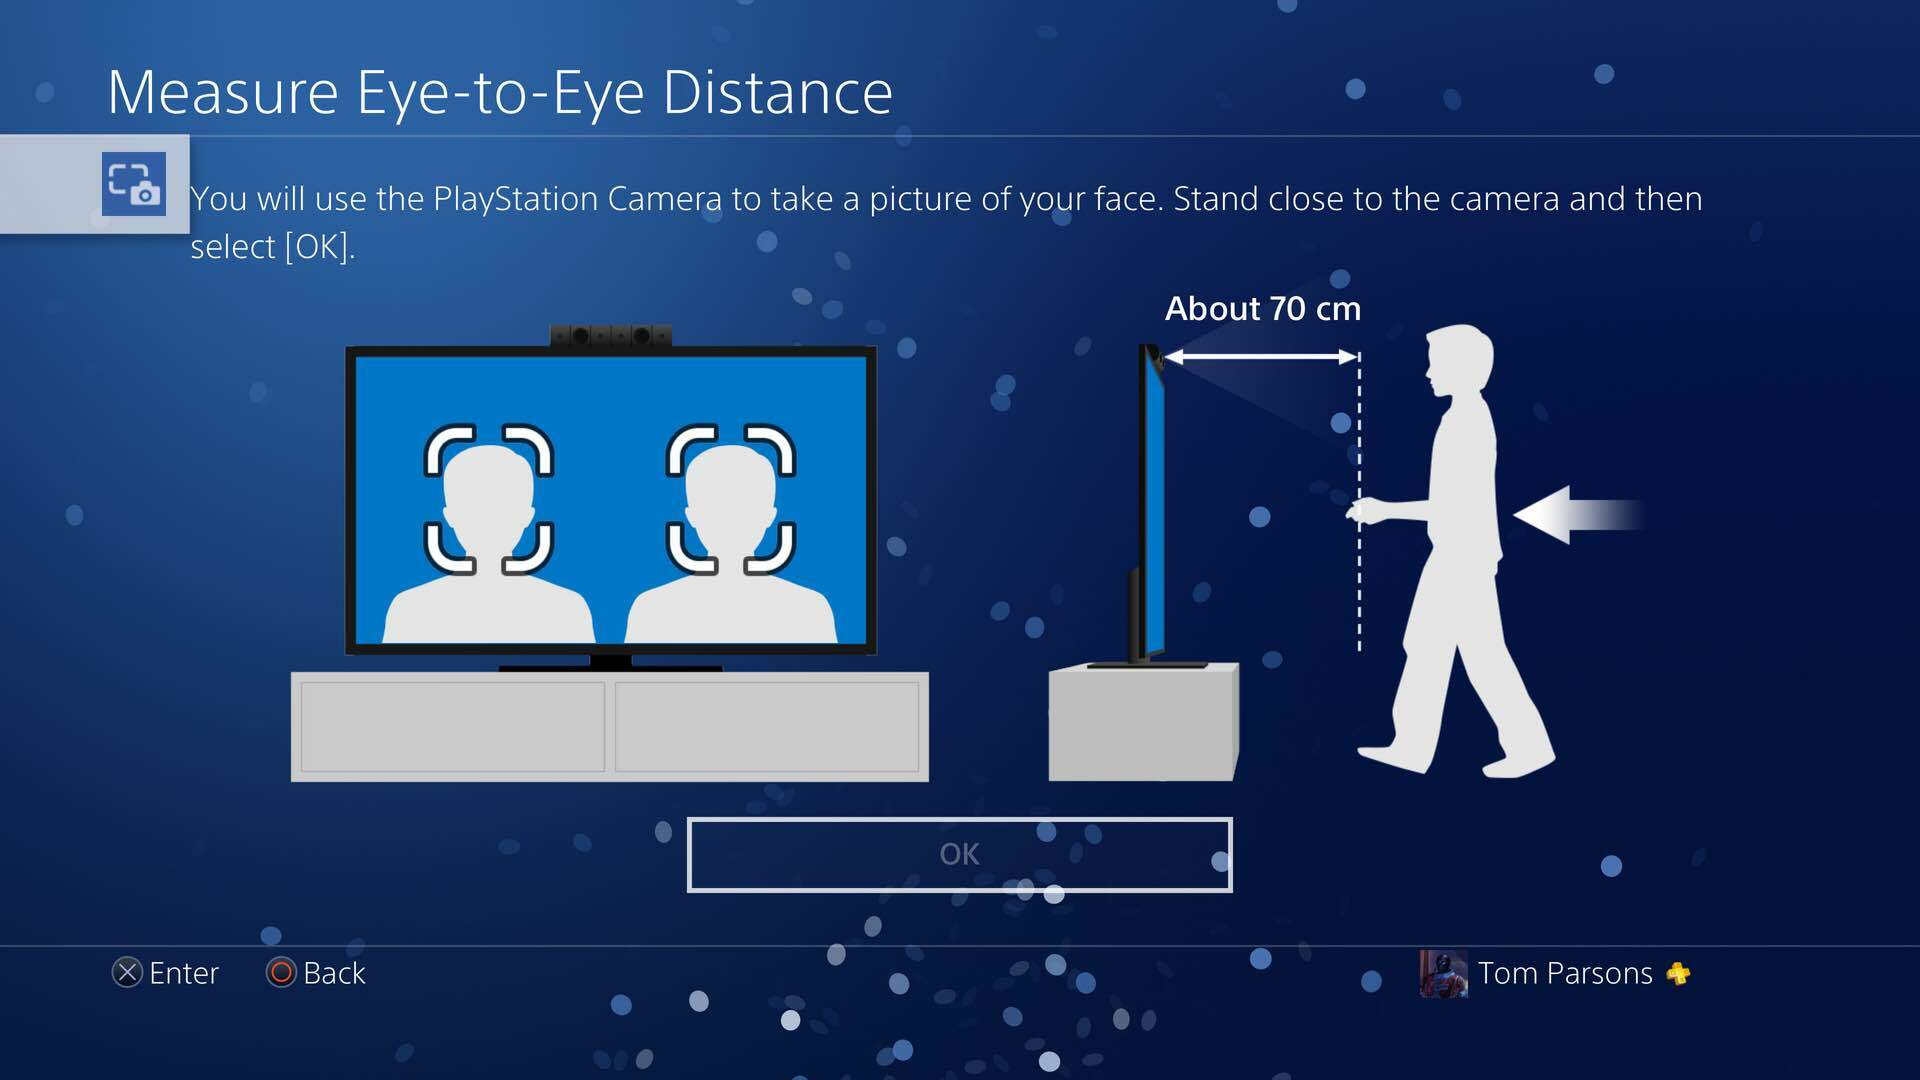
While you’re asked to go through some basic headset calibration when you first fire up the PSVR, there are more detailed calibration settings in the VR options in the PS4’s settings toolbox.
These more detailed calibrations include holding the headset and controllers closely to the camera to calibrate their light. It also calibrates the distance between your eyes by asking you to position crosshairs.
And the best part? You can save these detailed calibration settings for different user accounts, saving you from having to re-do the calibration each time someone else logs on to play.
4) Peekaboo
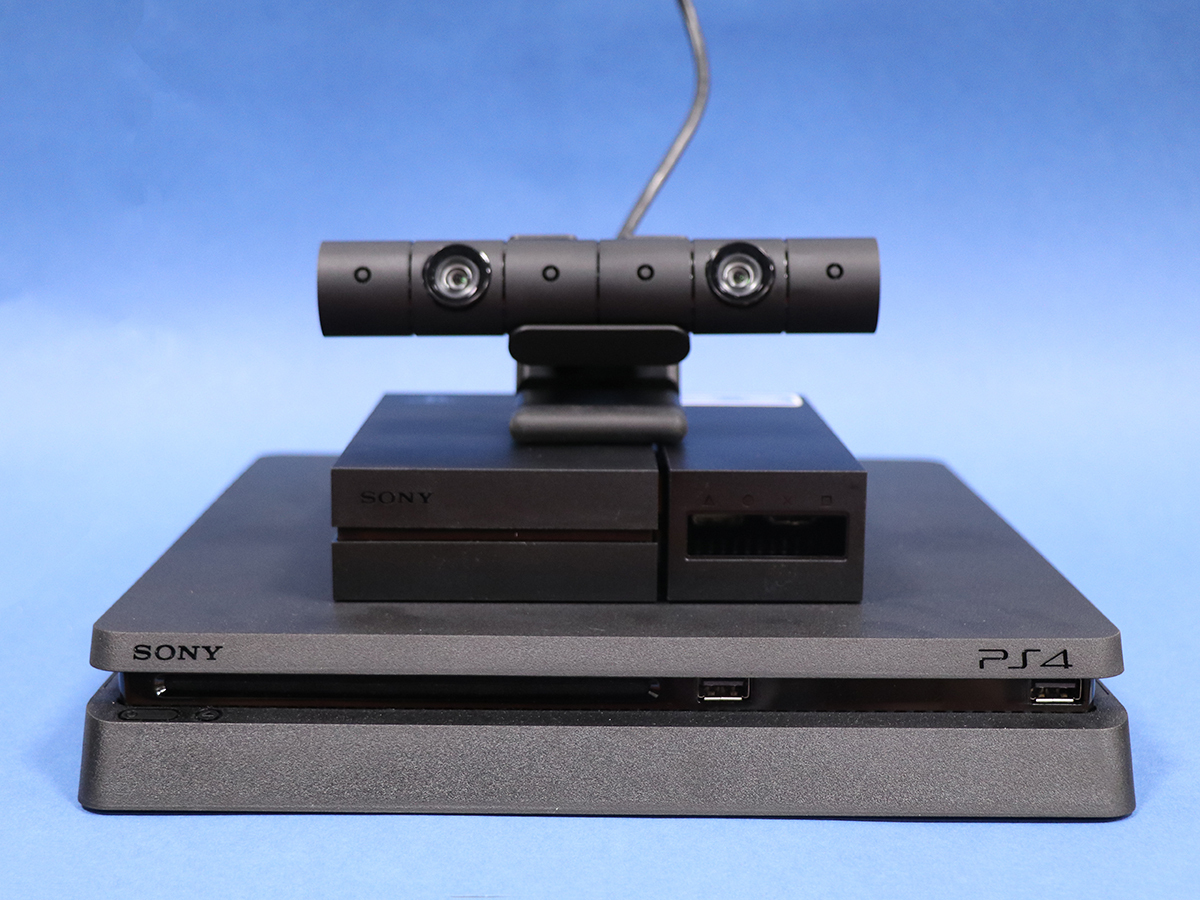
VR is great and all, but sometimes you’re going to have to go back to the real world to sip a drink, reach the remote, etc.
Instead of taking off the headset each time the real world calls, you can instead peek through the PlayStation Camera, but holding the PS button, and selecting Adjust Playstation VR from the menu.
Select Confirm Your Position from the sub-menu, and boom – you’ve got Real Life Vision back without having to take off your headset.
5) Stay in control
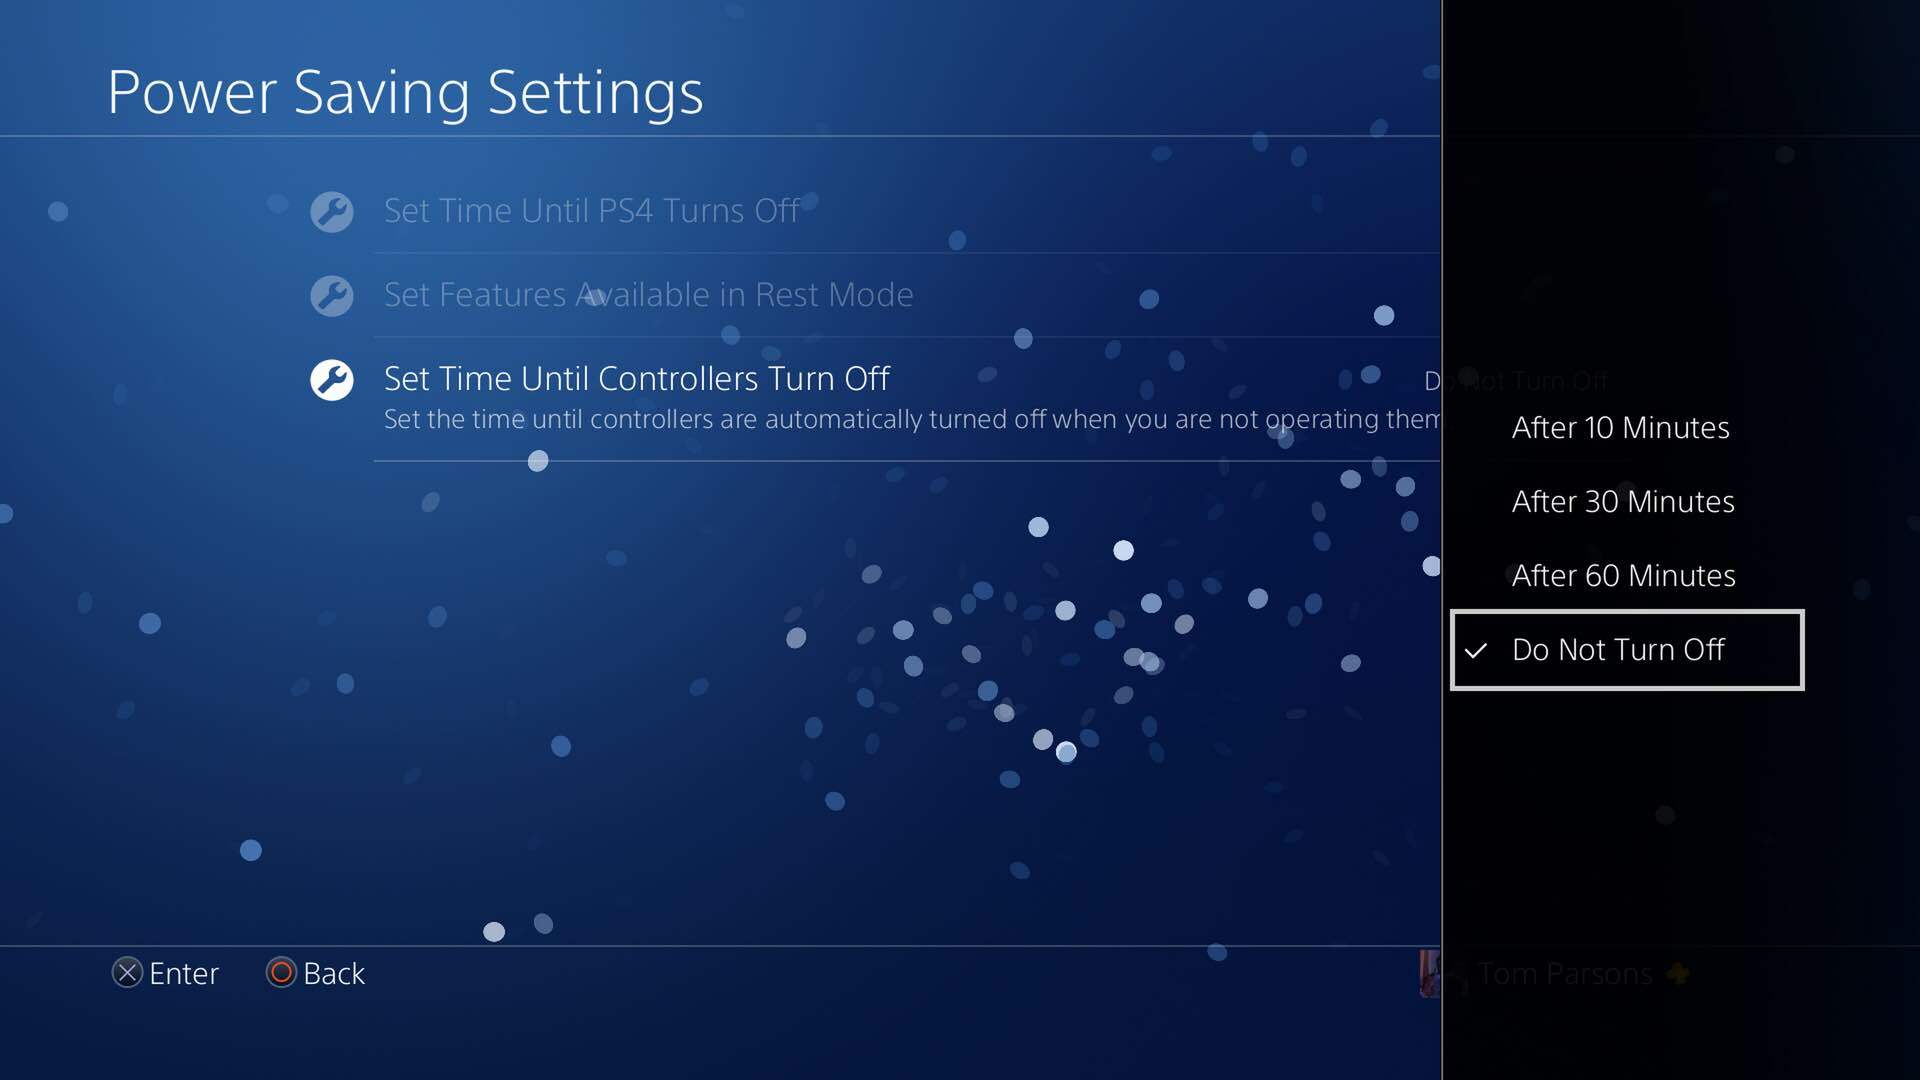
Even if you’re using the PlayStation Move controllers, you’re still going to want your trusty DualShock 4 controller for easier, more comfortable navigation.
Annoyingly though, the PS4 controller turns itself off after 10 minutes of inactivity, which can be a right pain.
Thankfully, there’s a simple fix. Hit up Settings, Power Saving Settings, and make sure that Turn Off DualShock 4 Automatically is set to off.
It might be worth switching this setting back for regular gaming or Netflix marathons though, to avoid unnecessarily draining the battery.
6) Love and care
There are a few easy ways to really ruin your PSVR headset, and they’re not all that obvious.
The first one is a biggie – never let the headset’s lenses be exposed to strong sunlight. Not even for a few seconds.
As various unlucky Oculus Rift and HTC Vive owners have discovered, exposing these lenses to sunlight causes them to focus the sun’s beams like a magnifying glass, permanently damaging the in-built screens by burning them beyond repair, resulting in annoying black spots in your VR vision. Not fun.
The second thing you’re going to want to avoid, are alcohol-based lens wipes. These damage the special film Sony has placed over the PSVR headset’s lenses, resulting in discolouration and annoying marks.
Reddit users have found success using a lens pen to keep the lenses clear, which sounds like a much safer bet.
Related › HTC Vive review
Three handy accessories
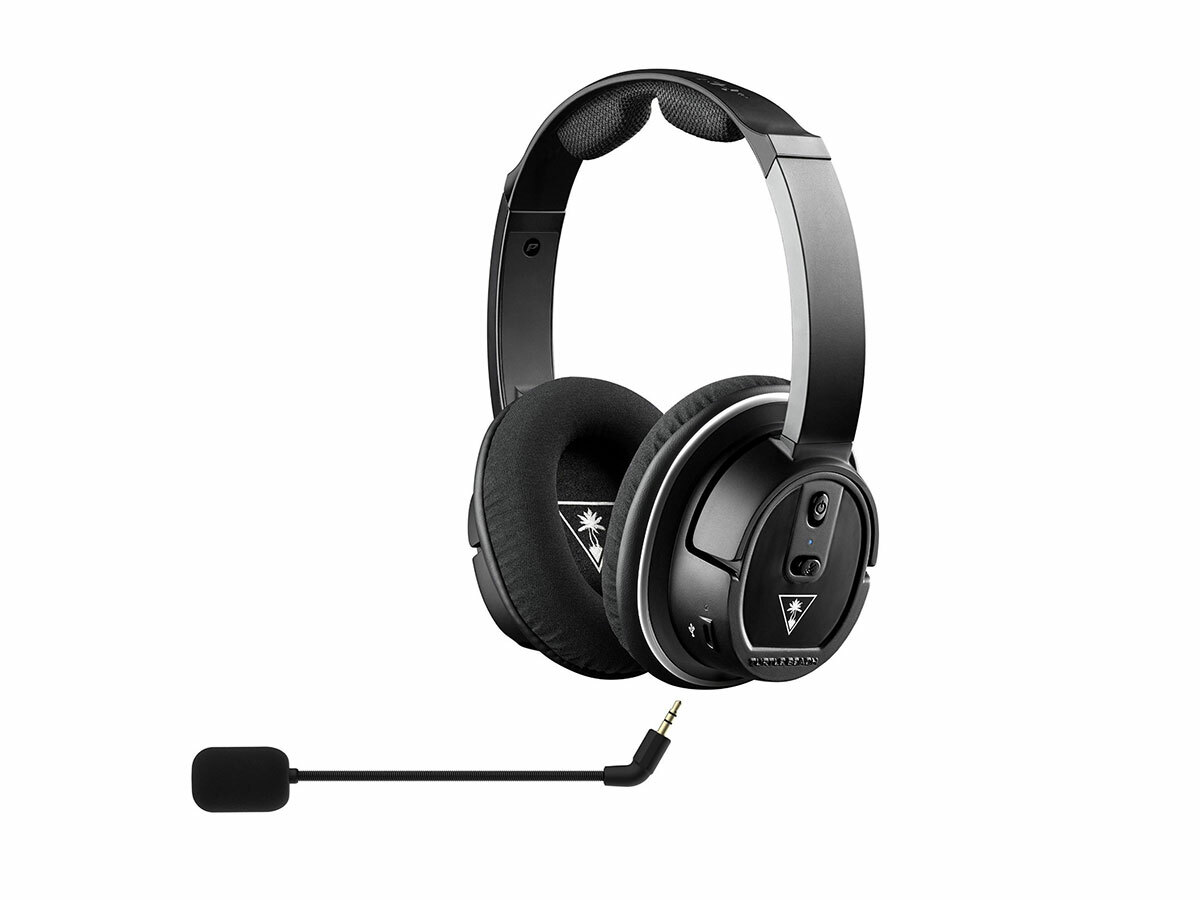
Turtle Beach Stealth 350VR (£56)
Turtle Beach’s all-black headset was designed specifically for use with VR headsets, with a design that allows clearance for various cables without being too bulky and heavy. It’ll last an impressive 30 hours on a single charge, with various bass adjustments and in-built audio monitoring to let you hear the sound of your own voice. The mic is detachable too, letting you enjoy the PSVR’s full virtual surround sound experience.
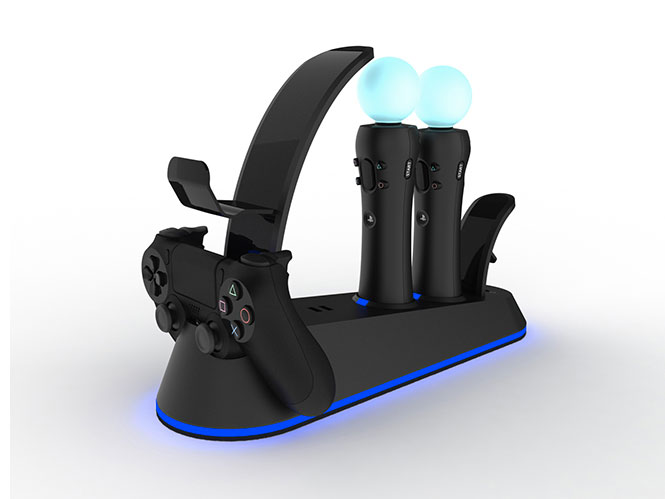
PRIF Dynamo Charging Station (£30)
Sure, technically this is nothing more than a specially shaped bit of plastic with in-built charging ports, but it’ll let you store the PSVR headset, as well as charge and store two Move controllers and a standard PS4 controller. Neat and functional? Your mother will be pleased. Oh, and it has two extra USB ports if you fancy topping up a few of your other gadgets.
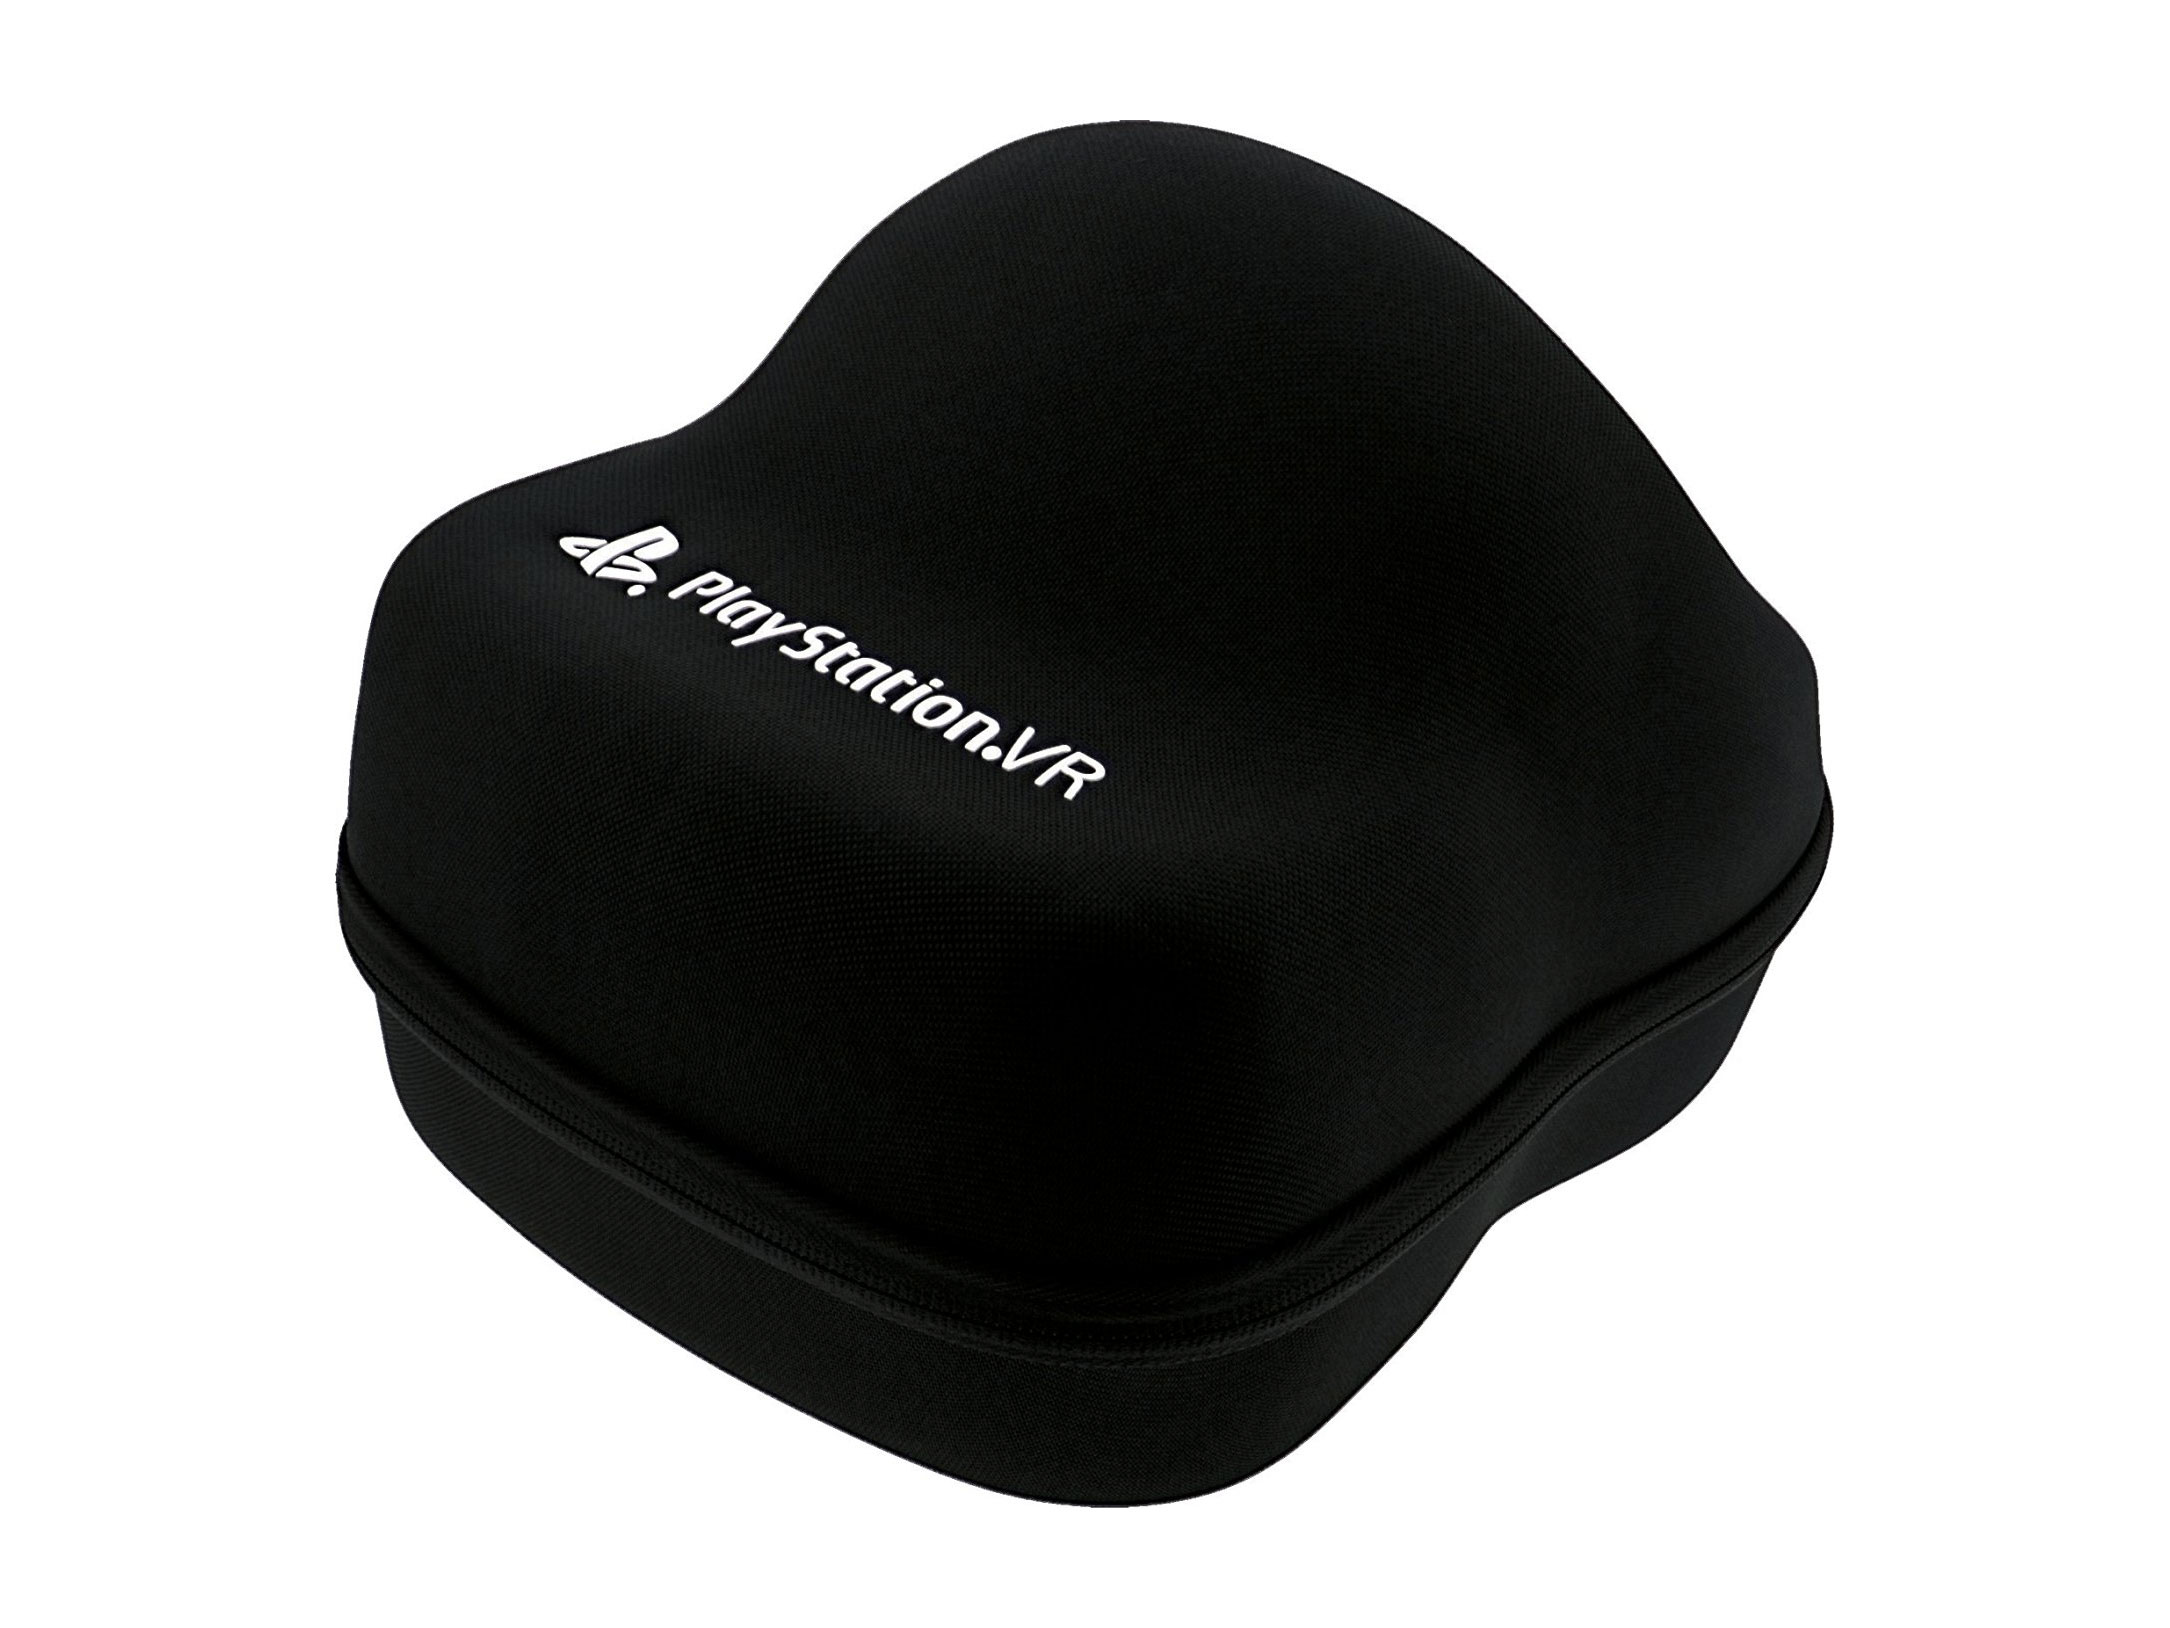
PowerA Premium Protection Case (£30)
There’s not much we can really say about this. It’s black. It’s officialy licensed. It’s basically a case that’s specially made to perfectly hold and protect the PSVR headset. Exciting? Maybe not, but it’s definitely a handy thing for transporting your expensive bit of kit, and a good place to store it when not in use, protecting the lenses from the sun’s harmful rays.
Now try these…
PlayStation VR Demo Disc (£free)
This free download from the PlayStation store is packed with 18 game demos, including heavy hitters like Eve: Valkyrie, Resident Evil 7 Biohazard (Kitchen Teaser), and DriveClub. It’s a great way to sample a taste of all the different VR experiences on offer, as well as filling you with warm, fuzzy feelings of nostalgia as you fondly remember physical demo discs and, dare we say it, floppy disks.
Invasion! (£free)
This award-winning short film isn’t a game, so you can’t really interact with any of the adorable characters in it. It’s still well worth a spin for adults and kids alike though, as it sees you step into the miniature body of a cute fluffy bunny, just before a pair of hapless aliens land and try to abduct you. The visuals are spectacular, the animation is fluid, and you’ll feel like you’ve stepped into your very own animated movie adventure.
Batman: Arkham VR (£16)
Easily one of the most impressive VR experiences we’ve ever tried, Batman: Arkham VR places you, unsurprisingly, straight into the big clunky black boots of the dark knight himself. While it focuses more on detective work than full-blown outbreak of fisticuffs, you do get to fling aroung batarangs, use gadgets, and meet all your favourite villains face to face. It’s short, but amazing, and a definite must-play for any PSVR owner.
Related › The best Sony PlayStation VR games
