Stuff’s Guide to Photography: How to take better sports photos
Find out how to pan, flash and freeze frame your way to action snapping glory...
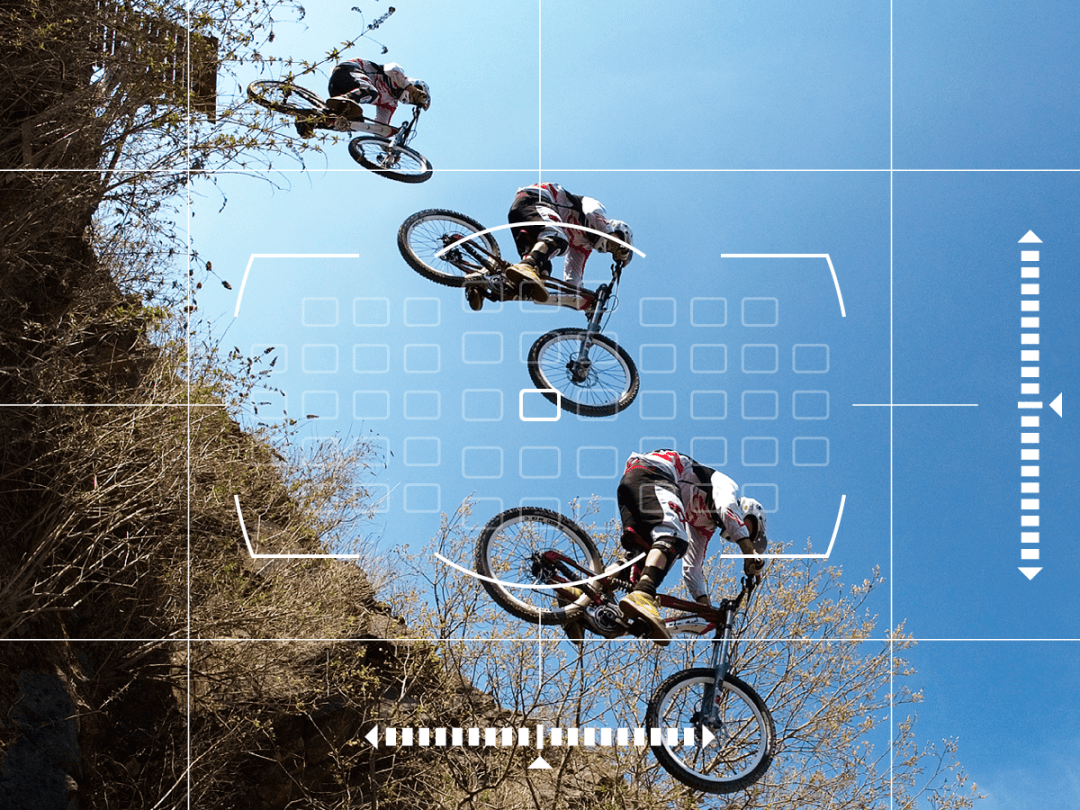
You can bluff your way through a lot of photography, but with sport, both your tech and your technique have to put in a great performance to get the best results.
That’s why we tracked down legendary mountain biking photographer Seb Rogers during one of his rare moments in between races and asked him for his best action photography tips. Here are his nuggets of wisdom…
The Basics
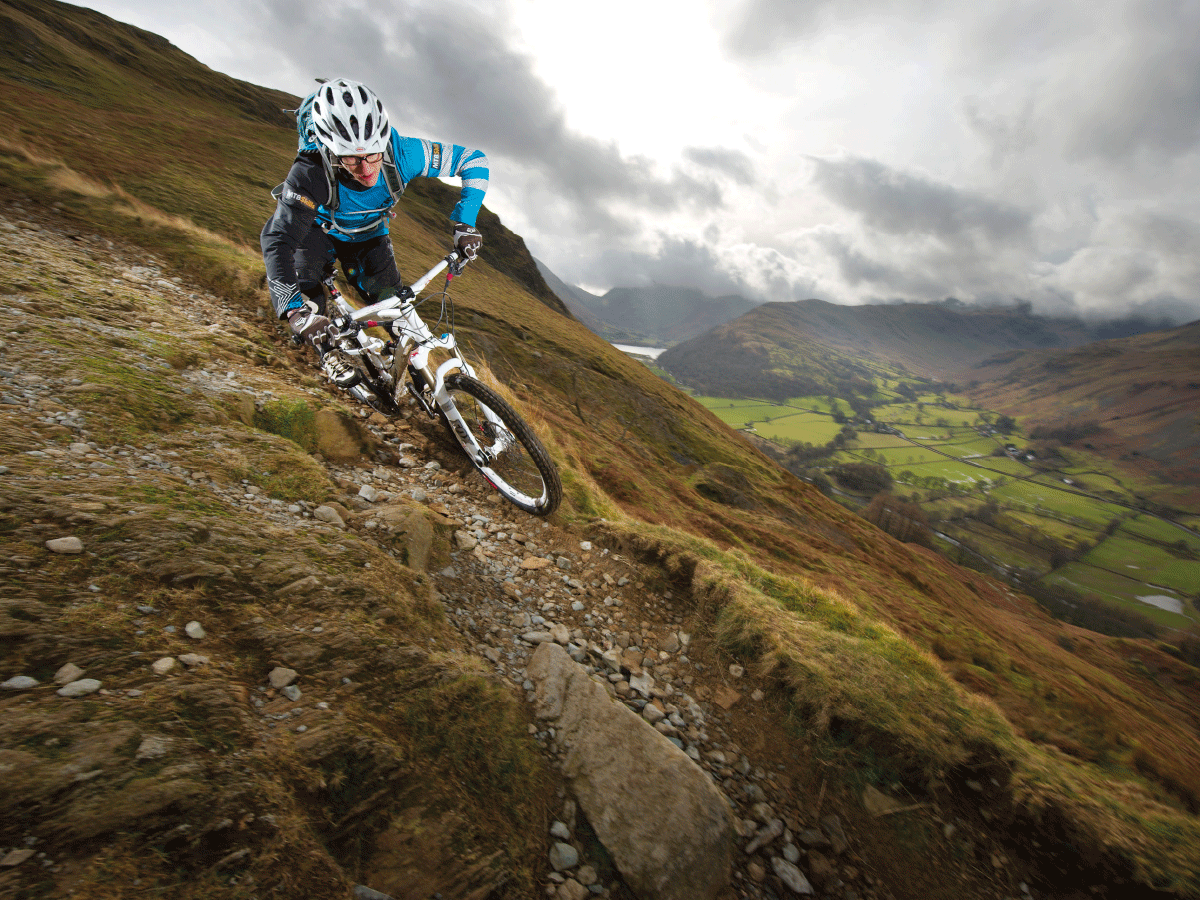
Speed is king. Action photography means capturing a moving object – so selecting the right shutter speed, the length of time the shutter is open, is key. Use Shutter Priority mode to control this.
Swing like a golfer. If the subject is moving, you – and the camera – should be moving too. Move from the hips with your feet slightly apart, following your subject smoothly in the viewfinder.
Support the lens. Cradle the lens in your left hand palm with your elbow tight in against your body. This supports the weight of camera and lens, leaving your right hand free for controls.
Squeeze, don’t press. When you’re ready to take the shot, squeeze the shutter button gently – don’t stab at it. Jabbing on the shutter button causes unnecessary movement and can lead to camera shake.
Anticipate the moment. If you’re using a DSLR, you’re blind at the moment of exposure. So plan ahead and take the shot a fraction of a second early. If you see it, you’ve missed it.
Use a hood. Lenses are at their best when stray light is kept at bay. A hood helps with this and also provides some protection from dust, mud and rain in the thick of the action.
Light and Speed
Light, and lots of it, is vital in sports photography. If you don’t get enough light through the lens and onto the sensor, you’ll have to drop the shutter speed so low that any moving object becomes a blur. Zooming in with a telephoto lens reduces the amount of light even further.
Higher ISO settings help, but there’s a limit to how far you can push the ISO before image quality becomes an issue. Bigger lenses gather more light and bigger sensors capture more of that, so a DSLR with a full-frame sensor is the way to go.
Next Steps
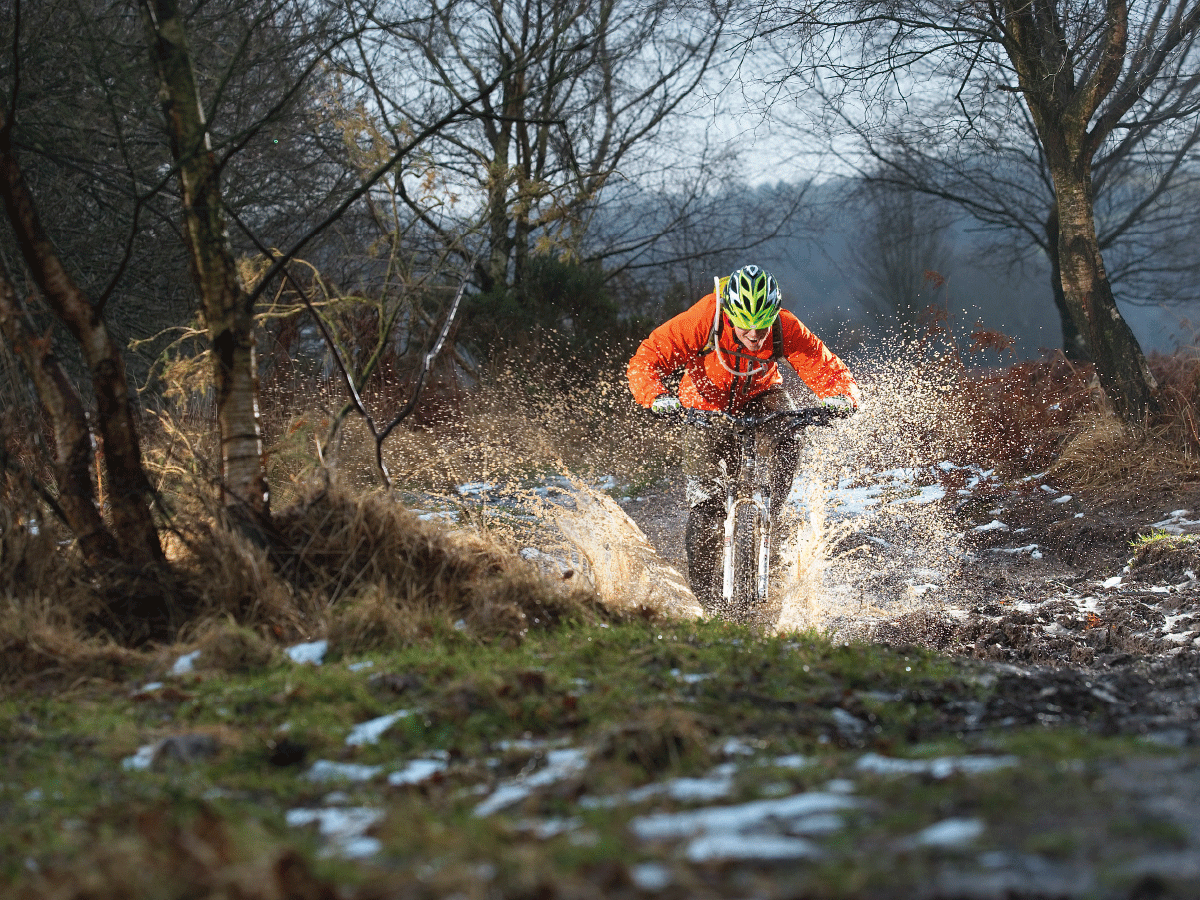
Go wide, go long. Action photography works best when you go for impact. Depending on the subject, you can either choose a long lens to get you closer to the action for a tight crop, or go wide angle and get closer to the action yourself.
Flash freeze frame. Flash works with a really short burst of light – 1/1000 sec or less. That can make it useful for freezing the action when a fast shutter speed isn’t possible, but only if you can get the flash close to the action.
Leave the tripod behind. Most pro sports photographers don’t use a tripod. If you’re using a particularly heavy lens a monopod might be a good idea to take the weight off your arms, but moving subjects need a mobile camera, lens and photographer.
Test Shots
Before the main event, take some practice shots during the warm-up. Try a few positions and see which work best. If you’re in a rush you can fall back on a ‘sport’ setting, but otherwise go manual and experiment to find a balance betwen shutter speed, ISO and aperture that’s enough to freeze the action without underexposing the image or introducing too much low-ISO fuzziness.
Have a close-up look at your test shots on the LCD before you settle on the final numbers, so when the action starts you can shoot with confidence.
Settings
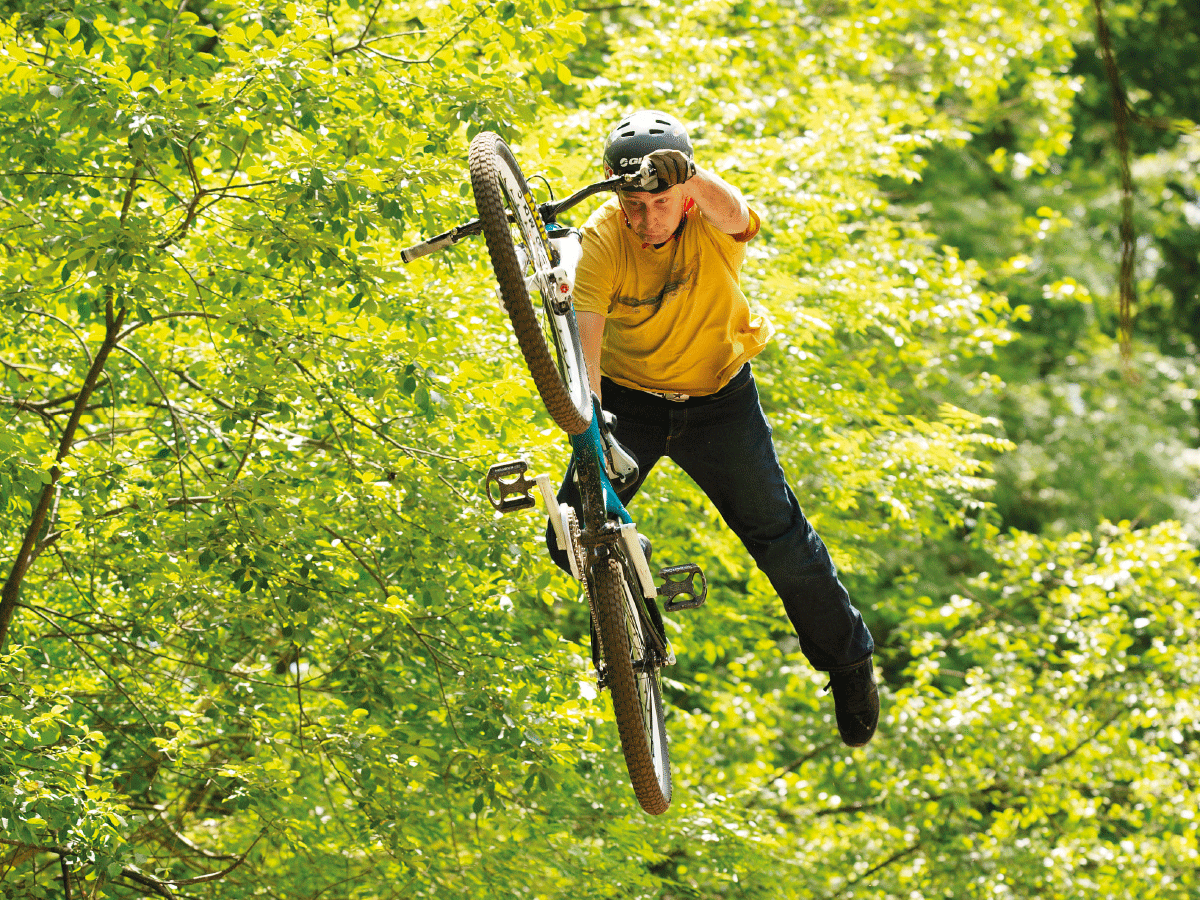
Fast or slow? Slow shutter speeds work well for smoothly-moving subjects that you can follow side-on for a panning shot. Most of the time, though, you’ll want to select a fast speed – 1/500sec or above – to keep the action as sharp as possible.
Autofocus – or not. Modern AF systems are very good, but they’re not magic and sometimes they get it wrong. For action that’s happening at a pre-determined point (horse jumping, say, or a pole vaulter) you can often get more consistency by pre-focussing manually.
Lighting matters. Set your shutter speed first, then set the ISO to the lowest practical setting that maintains a reasonable aperture. Wide apertures are fine to help throw the background out of focus, but you’ll need to be more precise in getting the focus bang-on.
Motion Blur
Blur can be used to convey movement, and it’s easily done even with a cheap compact. Using a slower shutter speed, you can freeze part of the image and blur another.
One option is to track and pan with your subject and shoot while the camera is moving horizontally, which will freeze the subject and blur the background.
Another is to keep the camera fixed and shoot as your subject passes, which gives the opposite effect. You can even use a zoom lens to add an explosive motion blur effect by pressing the shutter as you zoom in or out.
Special Effects
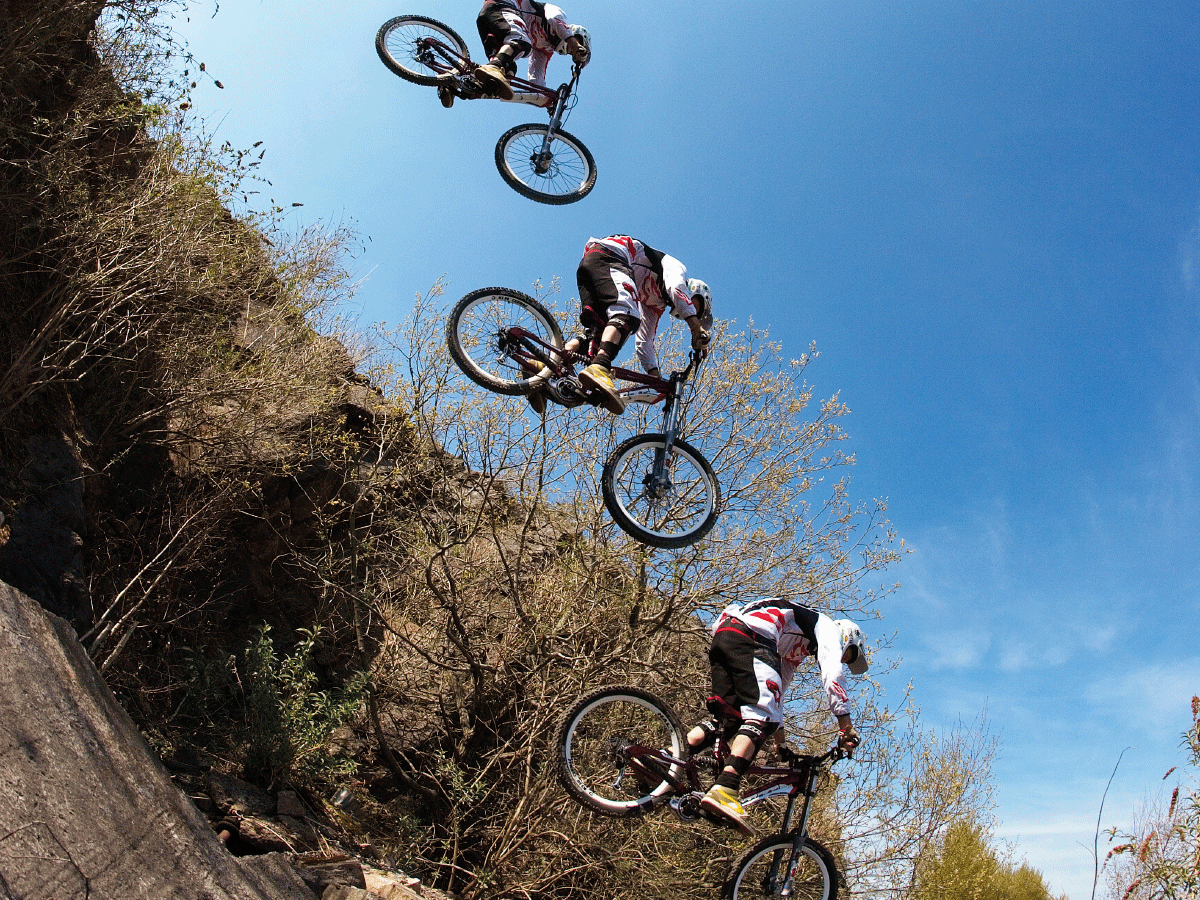
Shooting a sequence. Sometimes a sequence tells the story better than a single pic. If you keep your camera still during a burst of shots it’s relatively simple to stitch together the resulting sequence using the likes of Photoshop’s Photomerge, giving a dramatic result.
Panning technique. For side-on shots it’s sometimes possible to drop the shutter speed really low. Then, provided you follow the subject smoothly in the viewfinder as you take the shot, you’ll end up with a creamy background and tack-sharp subject for ultimate impact.
Off-camera flash. If you’re confident with your flash technique, easily-available radio triggers allow you to mount the flash on a tripod, away from the camera. This allows you to put light exactly where you want it, provided you know where your subject will be.
Burst Montage
Use your smartphone or camera’s burst mode to take a sequence of pictures in quick succession. Mount your snapper on a tripod, then shoot as your subject jumps, dives, skis, skates or flies across the frame.
Using an image editor such as Photoshop or GIMP, you can then create a single frame composite (to shown an entire movement, trick or stunt) by layering up the shots and ‘rubbing through’ each frame of your subject’s animation.
Exercise
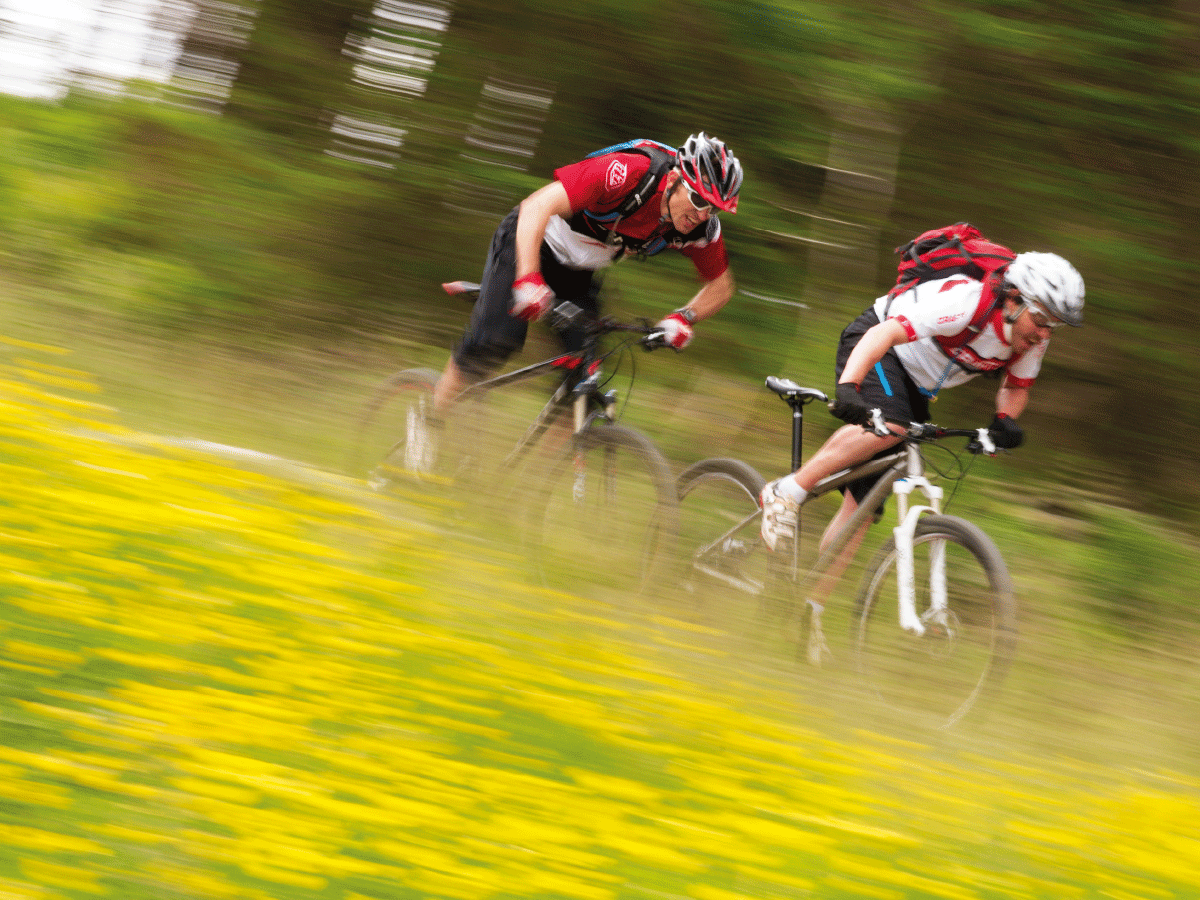
1. Rope in a willing volunteer to ride a bike (bikes work well for this because they can be ridden at a consistent speed). Ask them to ride past you on, for example, a path and keep the speed the same every time.
2. Start with a high shutter speed – say 1/500 sec – and practice getting a well-centred shot of bike and rider at the same spot for each shot. Take just one shot for each pass – don’t use burst mode.
3. Once you’ve got the composition and timing consistent, drop the shutter speed and see how low you can go while still keeping bike and rider sharp. With practice even speeds as low as 1/15sec can give good results.
Level Up With…
The Book
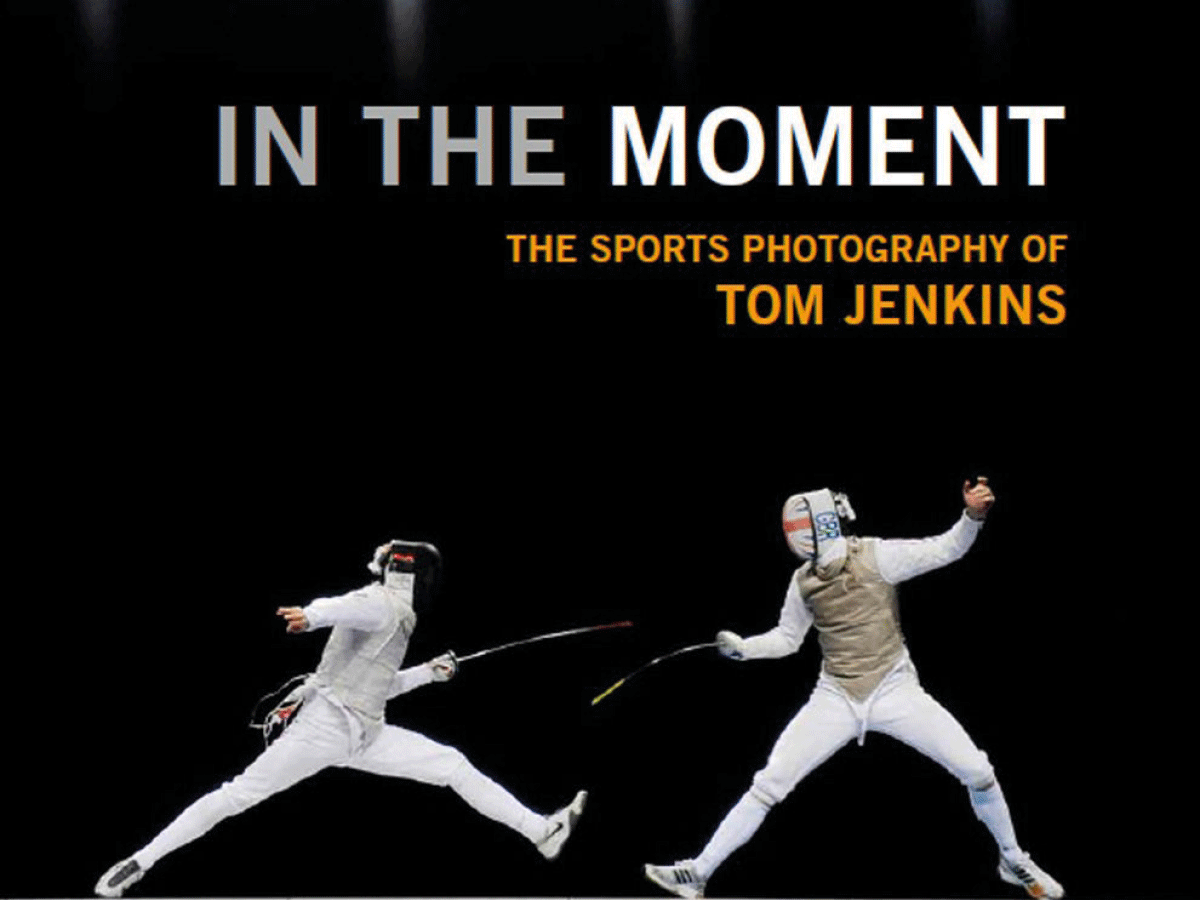
In The Moment: The Sports Photography of Tom Jenkins / £30
Tom Jenkins is one of the most experienced pro sports photographers around, having spent the past two decades travelling the world to shoot international events for his clients. Combining an eye for creative composition with bullet-proof technique, the images in his book should provide inspiration for any budding sports photographer.
The Website
Many pro photographers keep their techniques a closely-guarded secret, but Dave Black’s website is packed full of useful hints and tips. He’s an expert on remote flash photography – among many other things – and his eye for detail and impeccable timing mean you’ll never be short of ideas for improving your sports photography.
The Workshop
Pro sports photographer Mark Pain runs occasional courses for budding action snappers. Aimed at getting you in close to the action – right where the pros normally are – the carefully selected events are a chance for photographers with some previous experience to hone their skills under the guidance of a pro.
All photos: Seb Rogers


