18 Apple HomePod tips and tricks you have to try
“Hey Siri, how do I get the best out of this new smart speaker?”

18 Apple HomePod tips and tricks you have to try
Apple has taken its sweet time with its first smart speaker, but the HomePod is finally here. Getting the most out of your HomePod can be a bit daunting, though: if there’s no proper screen and everything’s controlled using your voice, how do you know exactly what it can and can’t do? Stuff is here to guide you through all the sneaky tricks of HomePod ownership. With these 18 tips you’ll have it justifying its lofty price tag in no time.
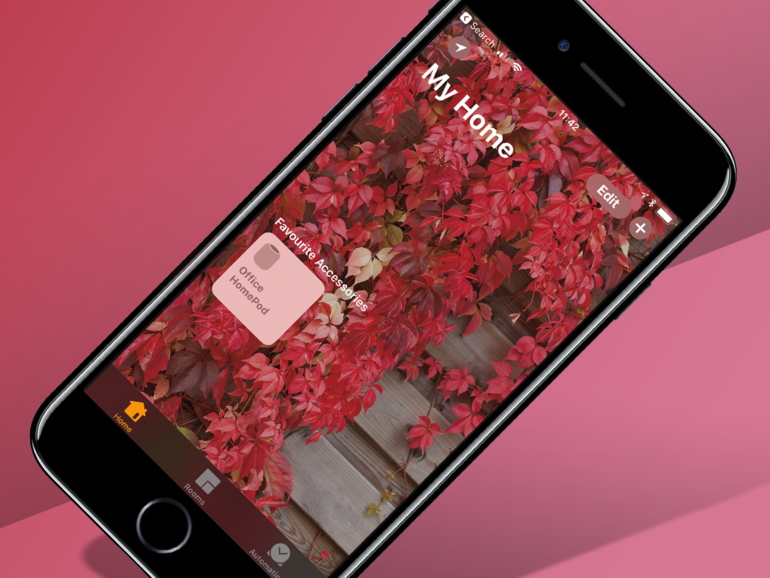
1) SEEK OUT THE SETTINGS
The HomePod doesn’t have its own app on your phone; if you want to tweak anything you have to fire up the pre-installed Home app then press and hold the corresponding HomePod icon. This will give you the option to either set alarms or dive deeper into the HomePod’s settings.
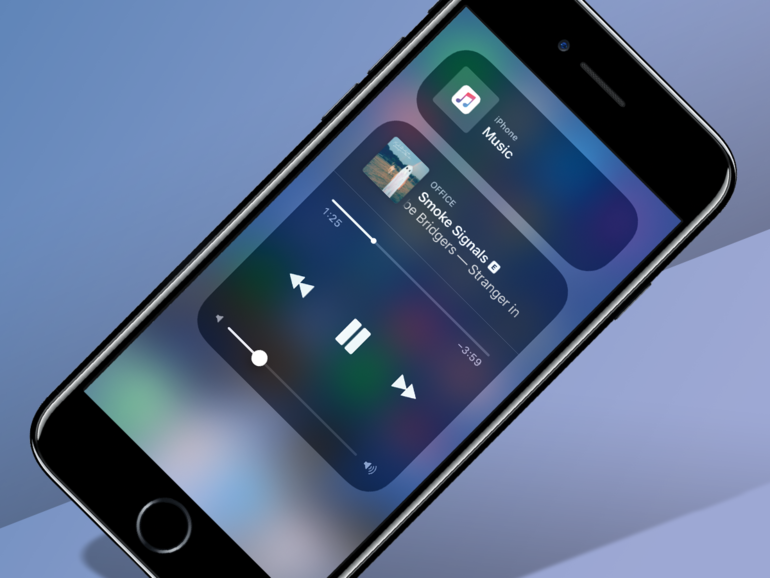
2) BYPASS SIRI
Got a sore throat? Turns out you don’t have to rely on Siri to control your HomePod. As long as your phone is connected to the same Wi-Fi network, firing up the Music app and hitting the AirPlay logo at the bottom of the Now Playing screen will bring up a bubble with your HomePod inside it. Pressing this will allow you to go back and use the standard Apple Music interface to find and play a song.
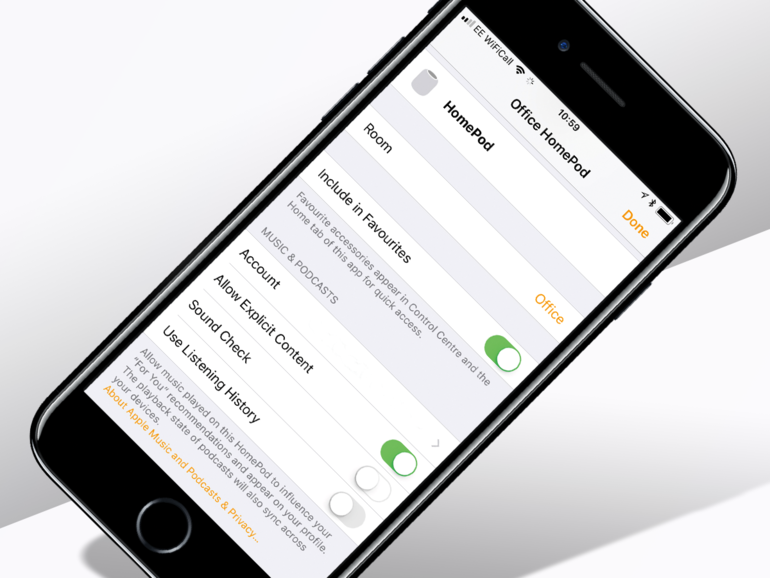
3) KEEP THINGS TO YOURSELF
Kids love talking to Siri but their taste in music is dreadful. That can mess with Apple Music’s carefully curated playlists and recommendations. Open the HomePod settings in your phone’s Home app and turn off ‘Use Listening History’ – then, when it comes to putting together your personalised playlists Apple Music will just use your phone’s listening history instead.
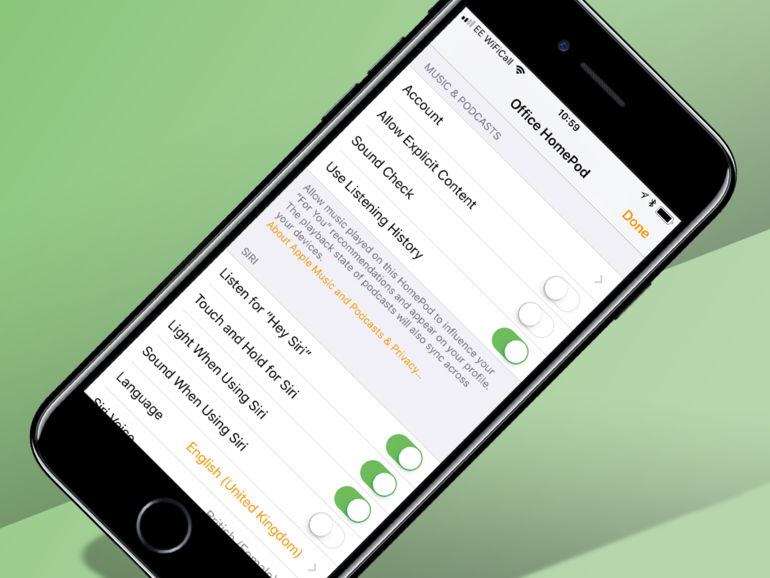
4) GO SWEAR FREE
Snoop Dogg might sound like a character from a kids’ TV show but a lot of his music is far from being suitable for pre-watershed ears. Turn off explicit content in the HomePod’s main settings menu via the Home app and protect delicate ears from inadvertently hearing all about what the Doggfather has planned for his lady friends that evening.
6) MAKE IT A HOMEPODCAST
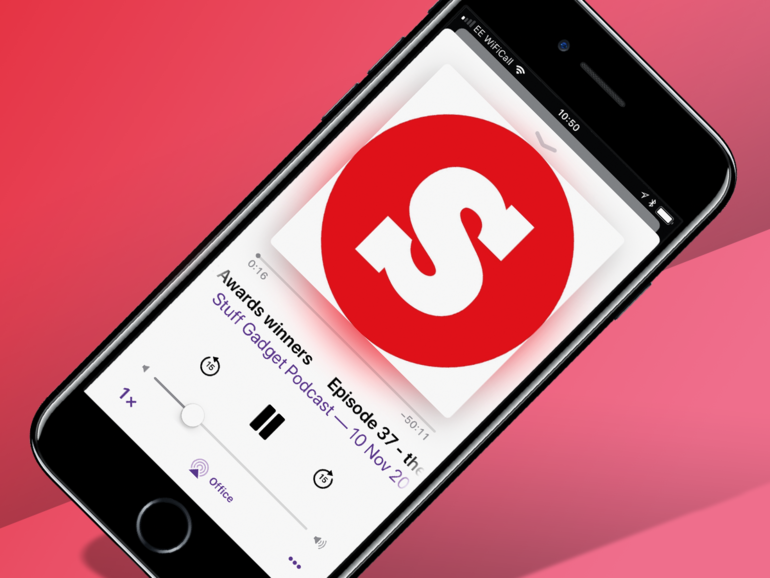
It’s not just music that sounds great on the HomePod. It also gives you on-demand access to any podcast that’s available through iTunes, and without having to download anything either. Just ask Siri for the podcast you want to hear, although it can be difficult to get it to play anything other than the most recent episode.
6) MUSICAL BONUSES
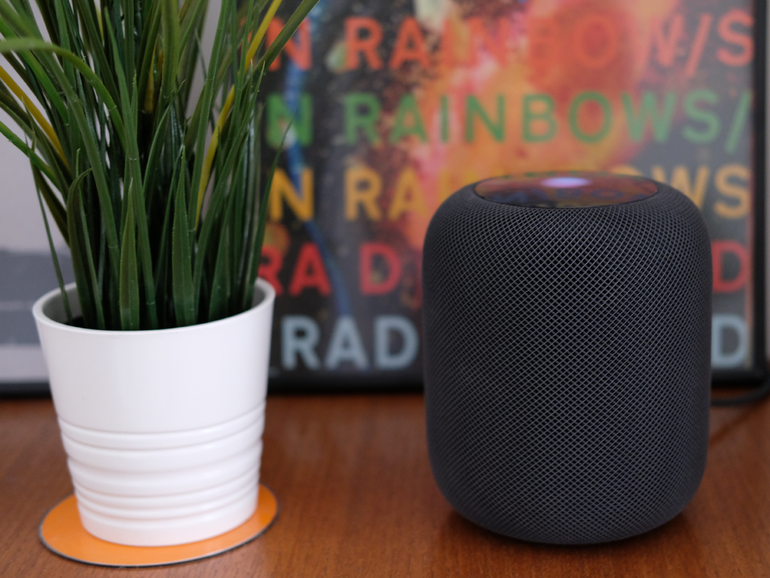
The A8 chip inside the HomePod is there to make sure it sounds as good as possible, no matter where you put it. It uses the built-in microphones to listen to itself and adjust the audio accordingly, but we’ve found that putting it near a wall means that it bounces ambient sounds off, while pushing the main elements, such as lead vocals, out into the centre of the room, giving a fuller, wider sound.
7) UNDER THE COVERS
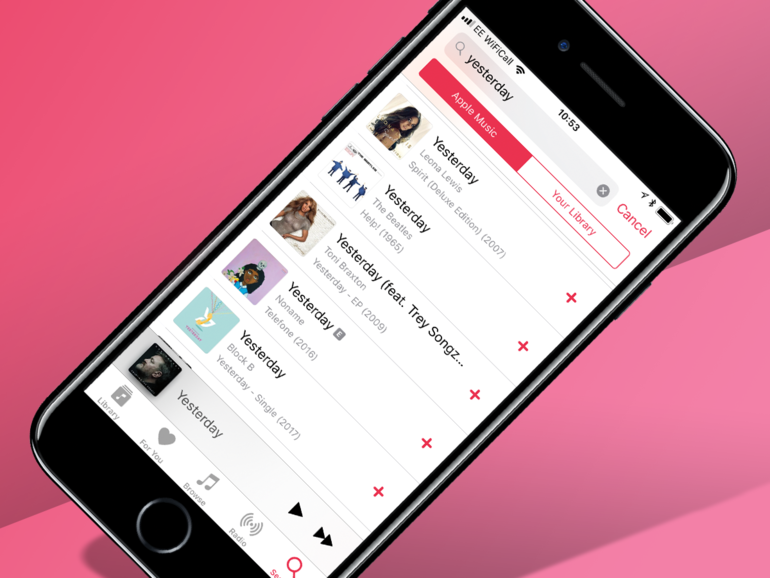
If you ask Siri for Yesterday, it’ll quite reasonably play The Beatles. But what if you wanted Guy Garvey’s Yesterday? Or Toni Braxton’s? Just tell Siri to “play a different version” and the HomePod will pick a different song with the same title. If you don’t know the name of the song you want to hear you can also try describing it.
8) SOOTHE THE MOVE FROM SPOTIFY…
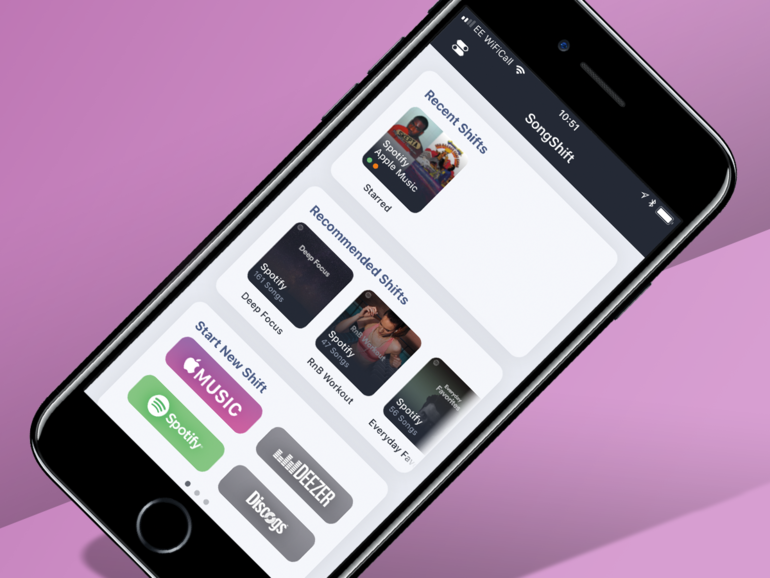
To get the best out of your HomePod you’re going to need an Apple Music subscription. If you’re a former Spotify user, starting anew is going to take some getting used to, but there are ways to make the move as smooth as possible. For starters, you can transfer your playlists using an app such as Houdini (£2.99) or Songshift (£free).
9) …OR DON’T LEAVE AT ALL
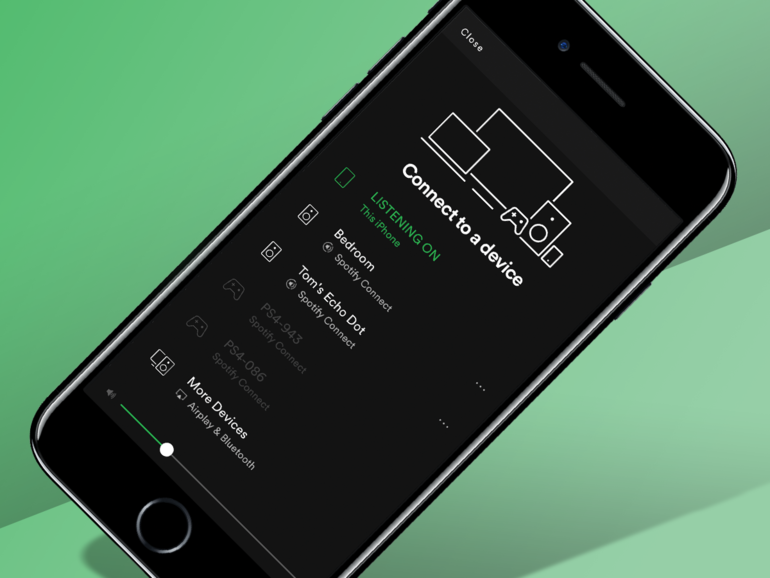
Open the Spotify app on your phone, play a song and hit ‘Devices Available’ at the bottom of the screen. Scroll down to where it says More Devices and use that menu to select the HomePod. You can do the same with any app that supports AirPlay. Once you’ve got it singing from Spotify’s song sheet you can use Siri to play, pause, skip tracks and change the volume – you just can’t make specific song requests like you can when using Apple Music.
10) MASH UP YOUR GENRES
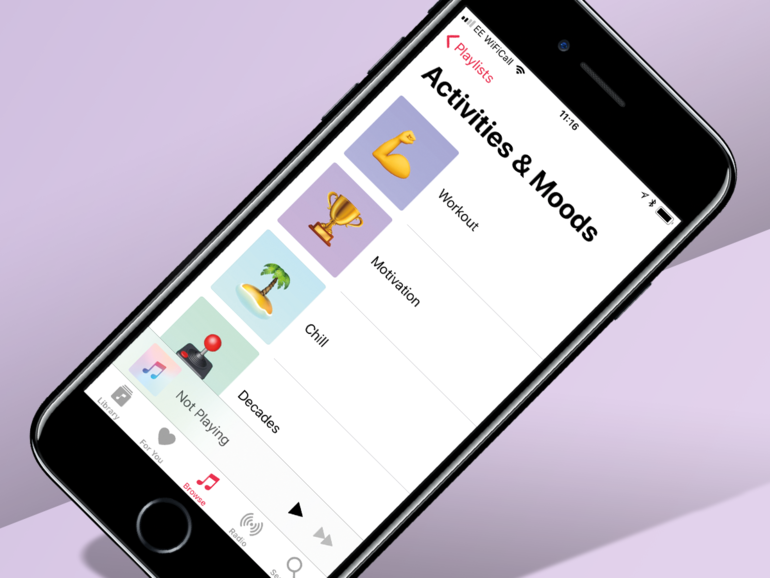
Got a deadline to hit? Ask for some “ambient electronic music for working”. Got the new boss coming round for dinner but don’t think he’ll be into your Cannibal Corpse back catalogue? Just ask for a “chill dinner party” playlist (and be prepared for an onslaught of musical beige). Experiment with mixing up genres and activities to see what you get, although heavy metal for meditating might be pushing it.
11) TEACH SIRI YOUR TASTES
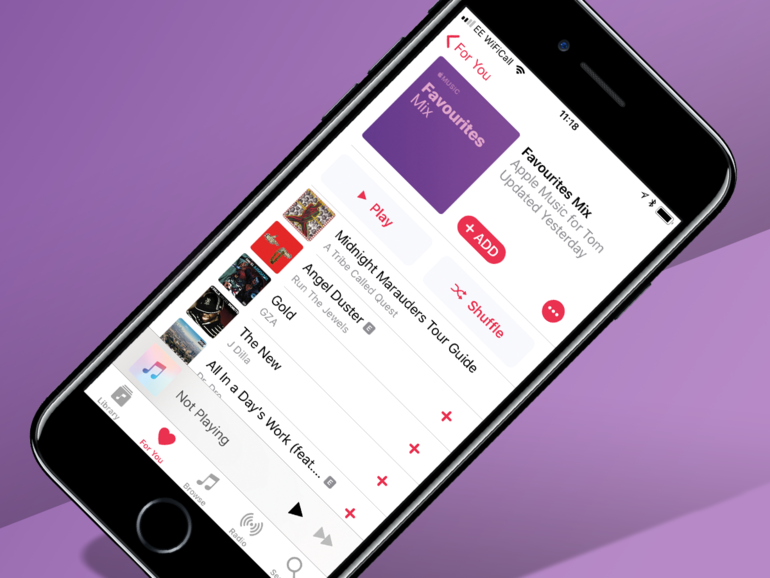
Ask Siri to play some music you like and it’ll use your listening history to put together a setlist of tunes by bands or artists you’ve listened to before, or from genres you told it you liked when you initially set up your Apple Music account. You can help it get a better grip on your tastes just by saying: “Hey Siri, I like this,” when it plays something you’re into, or “Hey Siri, I don’t like this band,” if it ever plays U2.

13) LET YOUR FRIENDS DJ
Given everyone your Wi-Fi password? Now they can have a say in what music gets played, if they have an Apple Music subscription. All they have to do is open up the HomePod controls in Control Center, press on the album art and choose ‘add songs to queue’ in Apple Music, and it’ll add them to your HomePod’s terrifyingly democratic playlist.
13) MIC UP YOUR MAC
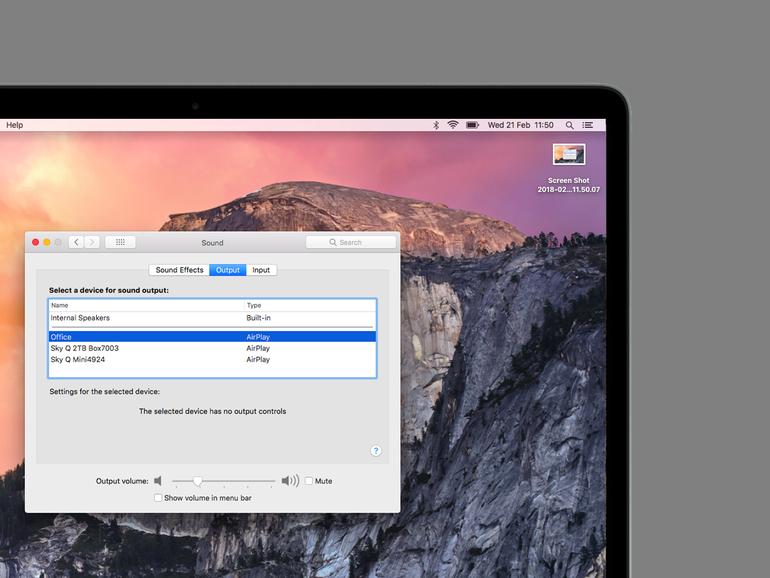
The HomePod is easily good enough to be your main music system – so you’ll probably want to channel all your audio through it. Set up your Mac so it can use the HomePod as the main audio output device: in System Preferences, choose the Sound menu, select Output from the options at the top and simply select the HomePod from the list, not forgetting that it’ll be listed as whatever you named it during setup.
14) BRUSH UP ON YOUR TRIVIA
Guy Berryman could hit you over the head with a sign that says “I PLAY BASS FOR COLDPLAY” and you probably still wouldn’t recognise him – but that doesn’t mean Siri’s clueless too. You can ask names of band members, album titles, songwriters and sometimes even who plays which instrument on certain songs, although that’s reliant on Wikipedia having the relevant information.
15) NOTE TO SELF…
Enable Personal Requests when you set up your HomePod and you’ll be able to access notes and reminders via Siri, so you can just make a note to self when necessary. It also allows you to send texts and WhatsApp messages using only your voice, and if you want, you can turn it into the world’s most over-engineered speakerphone by selecting the HomePod from the audio options when you’re making a call.
16) TAKE A RAIN CHECK
Siri on the HomePod does everything it does on your phone, but asking whether you’re going to need an umbrella that day as you make your morning coffee, or what seven feet is in metres as you sit and work out the measurements for the new shed, makes using it’s AI expertise more natural than ever before.
17) SET THE SCENES
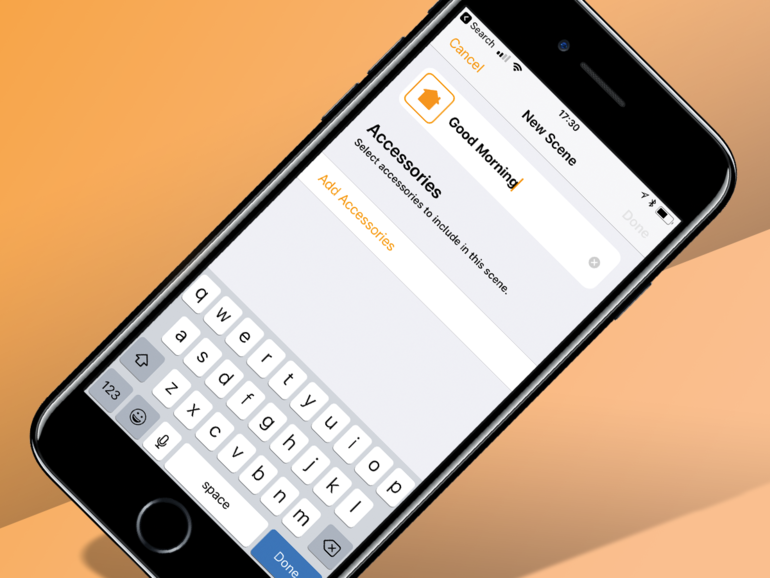
The HomePod is compatible with any device that supports Apple’s HomeKit, becoming the hub that’s used to control everything. Using the + button in the top corner of the Home app’s main screen, you can create what are called Scenes, which are essentially specific setups for multiple HomeKit-compatible devices: turning on the lights, heating and coffee machine first thing in the morning, for example.
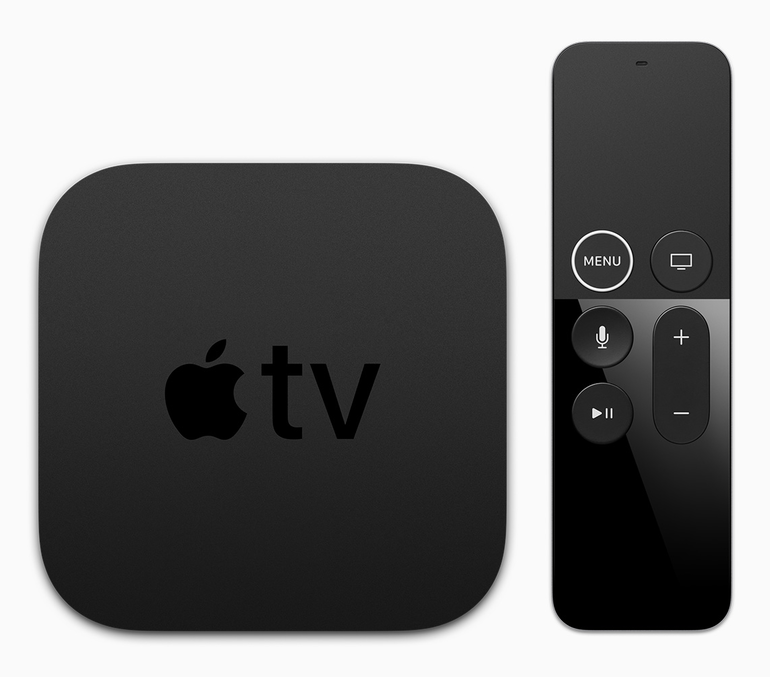
18) SUPERCHARGE YOUR APPLE TV
The HomePod isn’t strictly designed to be used with Apple TV but both support AirPlay, so there’s no reason why you can’t pair them up to boost your movie night setup. To get them talking, just hold down the play/pause button on the remote and it’ll show any compatible speakers on the same network as your Apple TV. Choose the HomePod and away you go.


