5 tips and tricks for brilliant black and white photography
Want to turn your hand to the oldest type of photography? We’re here to help you go monochrome
5 tips and tricks for brilliant black and white photography
Black and white photography might sound simpler than colour photography – after all, it’s been around for a lot longer and it’s basically just two colours. However, a quick glance through Flickr or Facebook should demonstrate that people still struggle to understand what makes a good monochromatic photo. But Stuff is here to help: we’ve put together this short guide to try and help you grasp the black and white basics.
1) Contrast is key
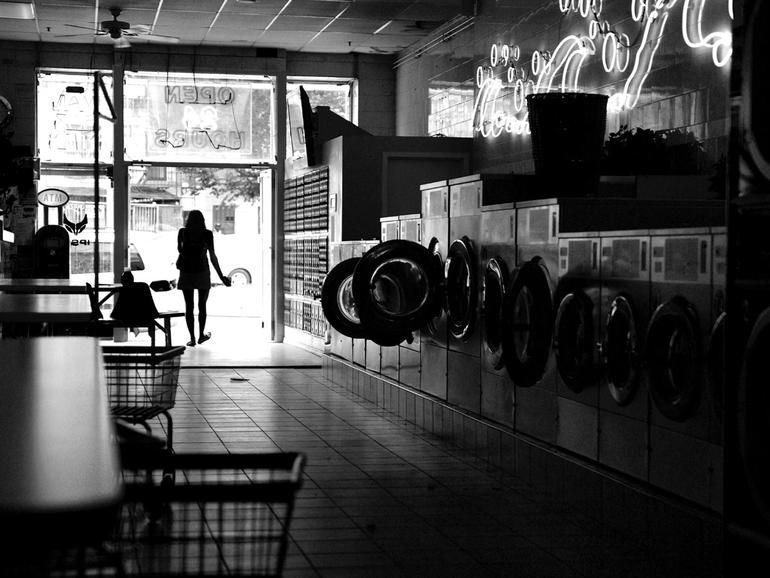
Because black and white photos remove colour, the viewer’s attention is focussed on other things. Sharpness, depth of field and composition are of course important, but contrast is arguably the key factor in how much impact a black and white photograph holds. In most black and white images, you’ll be looking for big contrasts between the darkest and lightest areas of the image. That’s where the drama comes from. If your original photo doesn’t have as much contrast as you’d like, get it into Photoshop or another editing app and adjust the settings.
2) Polarising filters are your friend
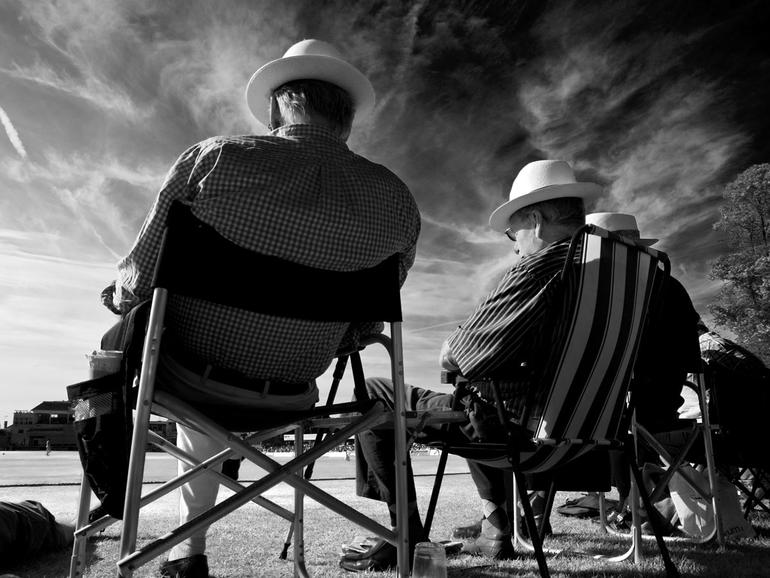
If you’re shooting for black and white outside on a sunny day, attaching a circular polarising filter will help provide a more dramatic, contrasty monochromatic sky. The filter will darken the blue of the sky without darkening clouds, buildings or other objects in frame. Circular polarising filters don’t start out particularly expensive but make sure you buy the correct size to fit your lens’ diameter.
3) Shoot in RAW if you can, colour if you can’t
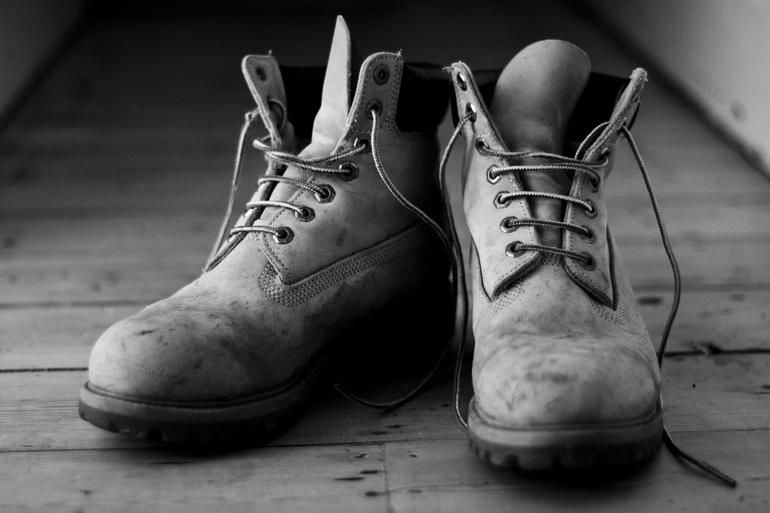
If your camera can shoot in RAW mode, it’s advisable to use it if you’re taking pictures to convert into black and white. Yes, RAW images take up a lot more space on your camera’s memory card, but that’s because they retain all the info captured by the sensor and that means you have much more scope to process images in Photoshop, Aperture or Lightroom than you would with compressed JPEGs. If your camera doesn’t support RAW shooting, it’s almost always best to simply shoot in colour JPEG rather than use your camera’s built-in black and white settings.
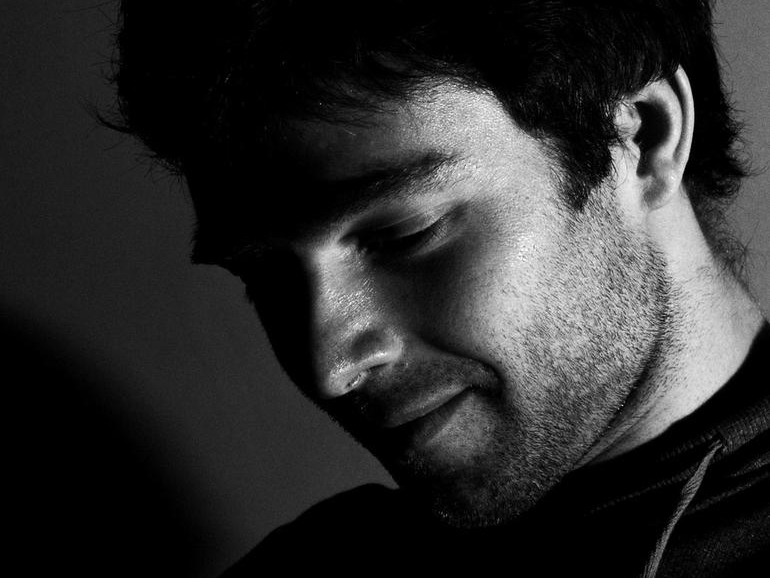
4) Monochrome portraits can hide many sins
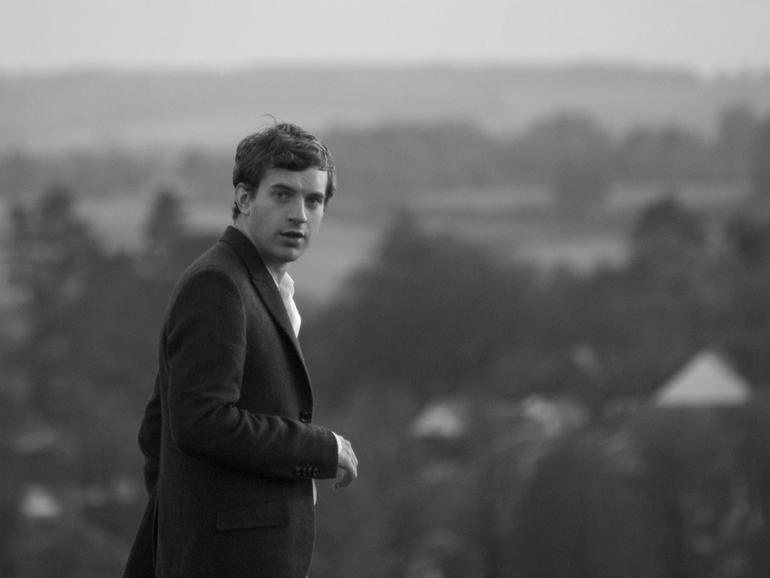
Black and white portraits often prove the most flattering, because skin blemishes disappear and the subject’s most striking features stand out. Of course, upping the contrast too much can make wrinkles and fine lines more prominent than they’d appear in real life, so moderation is key. As is lighting: light your subject too harshly and they can appear ghostly, cadaverous or just plain scary. It is, however, generally a good idea to contrast the subject and background: keep the subject’s face lit and the background dark.

5) Going monochrome can save a noisy shot
Taking photos at high ISO settings often results in noise: that colourful digital graininess that distracts your eye and obscures fine details. But flip the image to black and white and noise becomes simple grain: something that can serve to make a shot moodier or pleasingly scuzzy. So if you’ve taken a shot you like but it’s spoiled by noise when viewed in colour, give it a go in monochrome and see what happens – you may be pleasantly surprised.


