Stuff’s guide to editing and distributing your podcast

It’s no good producing the world’s most entertaining podcast if your only listeners are your mum and the cat.
Here’s how to put the finishing touches on your show and get it out there for people to download and enjoy.
Best editing software for podcasting
Once you’ve recorded your podcast, don’t think you can just crack open a cold one and chuck on a bit of Emmerdale. Your work is far from finished, because if you upload a raw audio file, chances are it’ll sound about as appealing as an angry toddler with a football rattle.
Here comes the fun part: editing. You can edit your podcast on almost any device, from a PC or Mac to a tablet or even a smartphone. If you’re skint, check out Audacity for PC or GarageBand for Mac/iOS. These editing programs are fully featured despite being completely free to download and use. GarageBand is particularly easy to get to grips with, even if you’re a complete beginner, but if you do get stuck you’ll find lots of tutorials on the internet and YouTube.
Alternatively, if you have a bit of cash to spend, we’d recommend checking out the affordable yet powerful Hindenburg for PC or Mac. This was designed with podcasters and radio producers in mind, so you’ll find it’s intuitive to use and stacked with great features. Plus, the website offers a complete guide to producing your show.
How to edit your podcast

First, you’ll want to listen back to your recording and crop out any dead air, mistakes and other bits that you don’t want sneaking into the finished product. If you’re producing a family-friendly podcast, don’t forget to trim out any naughty words and potential controversy.
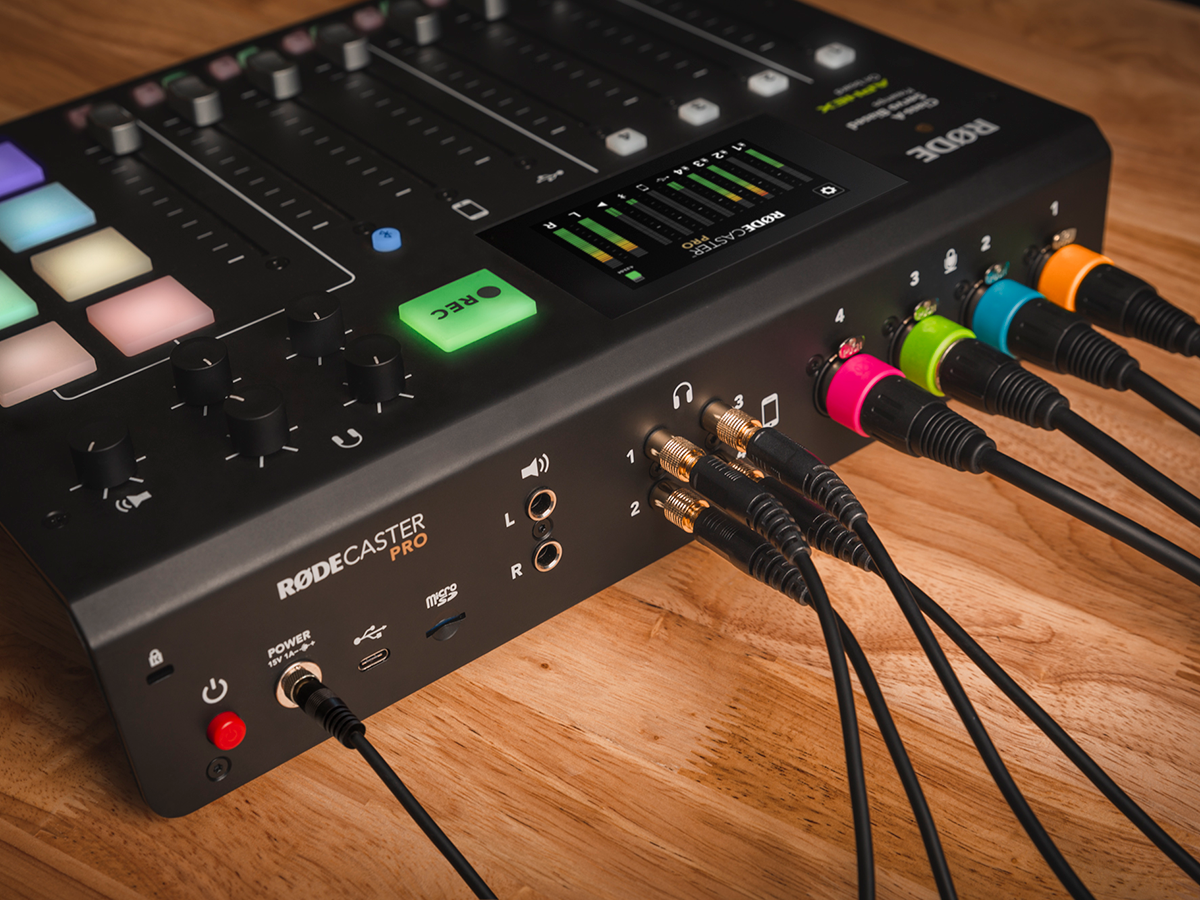
You may also need to clean up the audio so it sounds more professional and easier on the ears for your audience. If you’re using a proper recording deck like the RØDECaster Pro, your work here will be minimal. That’s because the RØDECaster Pro offers built-in audio features like gates, automatic EQ and compression to automatically clean up and polish your audio as you record.
For speech, always use a high-pass filter to remove everything below 80Hz. If the voice sounds a bit muddy, you can experiment with a narrow EQ cut somewhere between 200-400Hz, and if you need to add clarity, try a wide boost around 4kHz, being careful not to add too much or the voice can sound a bit sharp. De-essers are useful to manage excess audible ‘sharpness’ on sibilant ‘S’ sounds.
If the hosts are recording from different locations with different equipment, you may notice that the levels aren’t balanced – you’ll need to ‘normalise’ the audio to get everything level. This is much, much easier if you record a separate audio track for each host, rather than a single track containing everything. Most editing apps serve up a normalising tool, for automating this stage.
If you’re not sure what settings to use, keep a link to a podcast you like the sound of handy, and flip between it and your editing program, to help guide your choices. It helps stay objective after long sessions of editing.
When you’re satisfied with the result, export your work as an MP3 file with a 96kbps bitrate. You can go higher, which is a good idea if you feature music heavily – but the higher the bitrate, the larger your podcast file size will be. Choose a constant bitrate and 44.1KHz sample rate if given the option.
How to get your podcast on Google Podcasts, Spotify and Apple Podcasts

If you want to find and grow a loyal audience, you absolutely have to appear on the main podcasting platforms. And to do this, your best bet is choosing a reputable podcast hosting site.
The likes of Audioboom, Buzzsprout and Transistor can all host your podcast, with their own unique features and tools. Buzzsprout is one of the easiest to use if you’re new to the game, with the option of distributing to all of the podcasting heavyweights with minimal effort on your part. That free plan is very restrictive, but other options start from just $12 a month and you can try the premium service for 90 days at no cost, to see if it’s the one for you.
When you’ve chosen your host, just upload your exported audio files and you’re almost done. The final stage is to add in all of the essential info, including your podcast name and an episode description. Be sure to hit all of those keywords to make your show easy to find, and upload your artwork so you look attractive in search results.


